1960 Willys Overlandrestoration pageand photos.
(click on the green underlined hyperlinks to see photos)
|
 |
1960 Willys Overlandrestoration pageand photos.
(click on the green underlined hyperlinks to see photos)
|
|
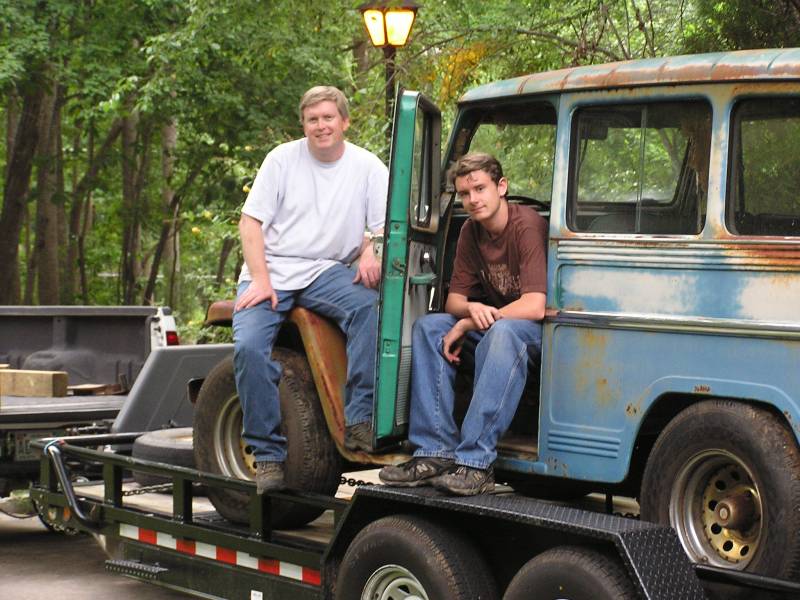
The Jeep wagon was purchased in July 2007. Due to a shortage of garage space the first order of business was to get the brake system fully functional and the engine running. These first two items took us a full 2 1/2 months to complete. This is working every evening and weekend! Now we are able to drive the wagon to the newly expanded shed, keeping it from being an eyesore to neighbors, and keeping it in the dry.
Extensive body work will be required as they were quite prone to rust. It was decided we would start with the hinged panels first, allowing us to keep the vehicle drivable.
The lower tailgate needed a lot of help! Here are photos of the rust repairs on it. This was just the beginning of repairs to the back of the vehicle. Next we had to tackle the cab area where the lower tailgate bolts on. Here are photos of the repairs to the back of the cab. This also took us a couple of very full months.
Next on the repair list were the doors. I began with the driver's door and removed all the interior parts and began assessing how to repair the rusty lower section. Both of the door repairs are documented here.
Devin focused on repairing and painting the horns. He discovered the small spring steel brackets were broken. There were parts to be made. Here are 2 pictures of the repairs to it.
As the doors neared completion we decided to go ahead and start on the hood over the Easter weekend. This is the documentation to the hood repairs and paint. The hood was the first large part we had painted and Devin could finally see some progress. Friday May 9th Devin got his driver's permit. On Saturday he got to drive the Willys around in the neighborhood and did just fine with the clutch and 3 on the column shifting. He was a happy young fellow!
Now that all the hinged panels are done, it is time to start on fenders. The front right fender is the worst so that's the one we'll start with. Here are the photos of the repair process to both of the front fender repairs.
It's mid-July and Devin is getting really tired of my focus on body work all the time and is itching to do something mechanical. So we are taking a break and decided to pull the front axle out and completely rebuild it. Devin pulled the from I beam axle assemble out by himself on July 20th. Here he is and the photos of the rebuild.
While we worked on the front axle I was busy building tooling to make replacement lower cowl panels. These patch panels are not available today. I've never made any body panel stamping dies, but am always willing to try something new. Here is the page on the process. More on this later!
The only body panel forward of the doors remaining to finish was the grill assembly. This grill assembly holds the radiator, headlights, and turn signals. So two days was spend removing, blasting and priming this assembly. It's completion can be seen in these photos.
Due to a LONG delay in getting king pins we decided to look around the shop for unfinished parts. The four original wheels was what we found. They were a wee bit rusty but some blasting work and a little welding made them as good as new. Here is a photo of all four freshly painted. And a close up of one of them. We were surprised to learn that Mavericks were not shipped with a spare tire. Apparently they were fitted with run flat tire in 1960! Amazing. We'll try and locate a spare rim anyway.
Once the front grill and front axle were back in the vehicle and we were driving it again, I had an urge to get the electric overdrive unit functioning again. Seemed like something that could be fixed quickly right? Here is the story.
The Sunday of 2/15/09 we removed the speedometer to try and find out why the input was locked up. Thank goodness we checked ahead of time and didn't ruin a brand new speedo cable! Once apart, we only found things dry, and a good oiling with lightweight oil had it good as new. We also Scotch taped the colored lens back on the facial as the original cellophane tape had long ago failed. What was surprising is that the original color discs were still inside the speedo case! We put it all back together and took it for a ride in the neighborhood. We now know how fast (slow) we are going!
Saturday and Sunday the next weekend I decided it was time to get back into making the stamp dies for the cowl panel patches we need. Made the appropriate cut on the drivers side to remove the outer cowl skin to see what was behind. More rust! This lead to the workings of the structure under the floor pans and the floor pans themselves. So here we dive into floor pan repairs.