1960 Willys Overland aft cab repairs, where the tailgate
mounts.
Thumbnails
Click on thumbnails to see larger images
There is a LOT of work to do on the cab. We were going to wait and do the cab
repairs until after the cab was off the frame, but in order to refit the
repaired tailgate, the structure at the back needed to be repaired to make
things fit right. So off we were!
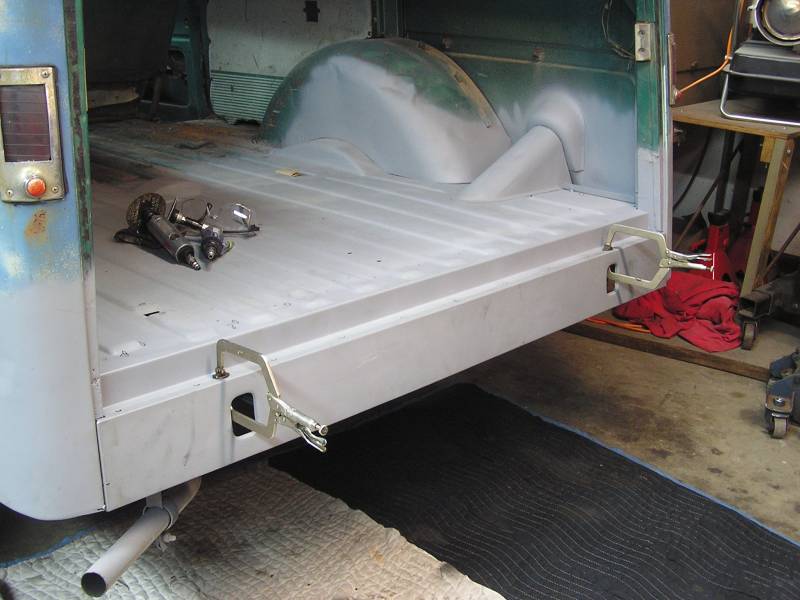
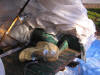
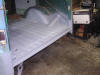
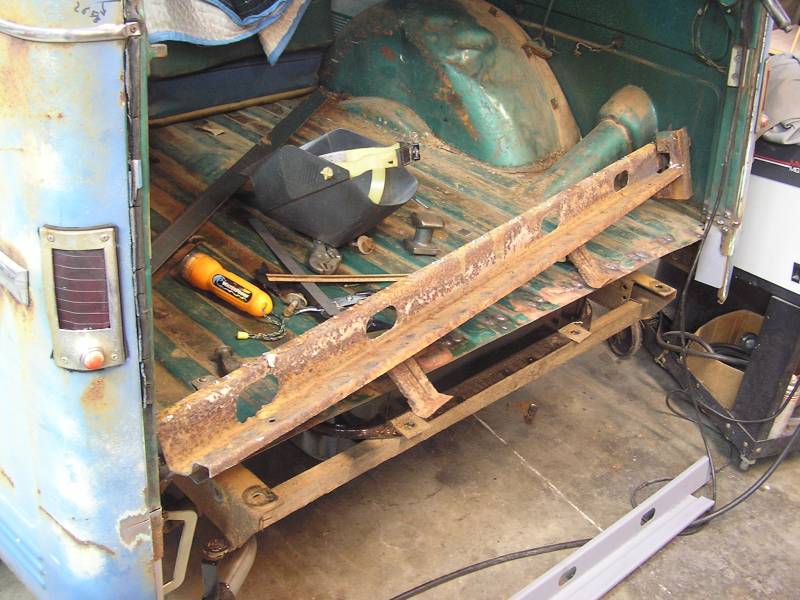
 The structure at the back where the tailgate mounts was quite rusty. It was
decided to just remove it all and replace. The back 1 1/2" of the bed and the
structural member underneath have been removed. The rusty structural member is
sitting on the bed.
The structure at the back where the tailgate mounts was quite rusty. It was
decided to just remove it all and replace. The back 1 1/2" of the bed and the
structural member underneath have been removed. The rusty structural member is
sitting on the bed.
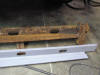 The new structural member is in front. You can see where the lower part of the C
post was removed along with the structural member. You can see the huge hole
rusted in it.
The new structural member is in front. You can see where the lower part of the C
post was removed along with the structural member. You can see the huge hole
rusted in it.
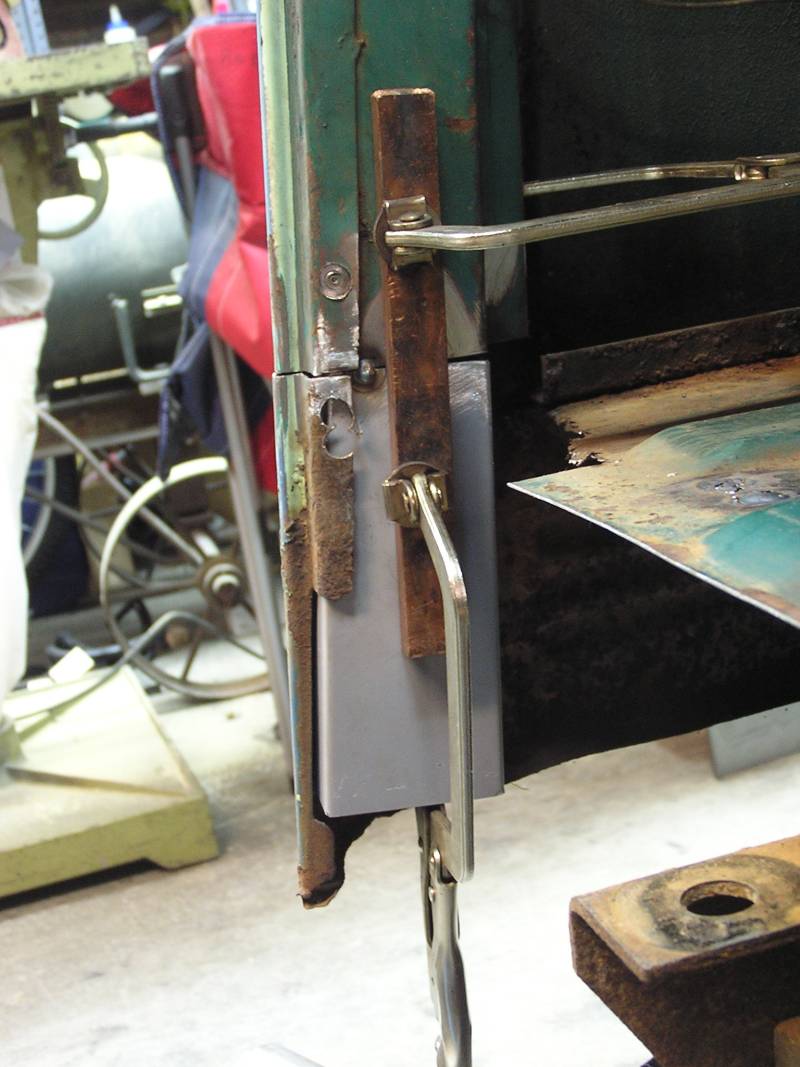
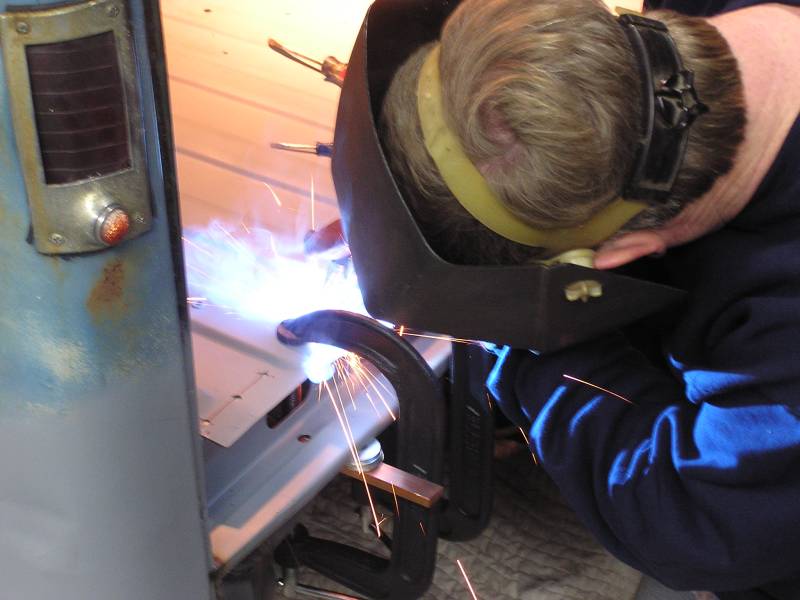
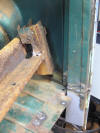
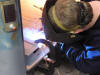
 The new tapered C post lower section has been fabricated, blasted and primed and
matched up with the original C post. Tack welding has begun.
The new tapered C post lower section has been fabricated, blasted and primed and
matched up with the original C post. Tack welding has begun.
12/24/07
 Here the right side is all welded in. Sure looks better than the old one in the
background!
Here the right side is all welded in. Sure looks better than the old one in the
background!
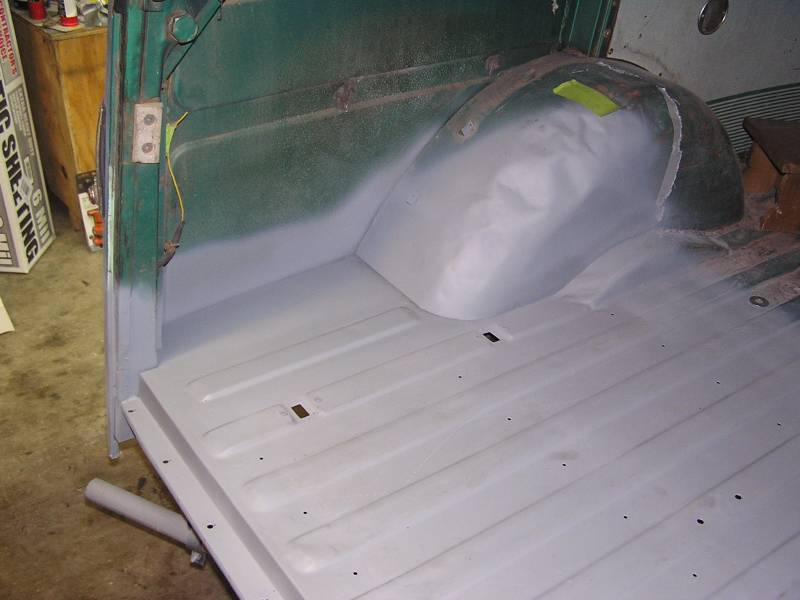
 After the C posts were welded it was time to sandblast the inside 3' of the cab,
inside the wheel wells, rear fenders, and bed. This would be the last time to
get to some of these parts before welding in the new structure.
After the C posts were welded it was time to sandblast the inside 3' of the cab,
inside the wheel wells, rear fenders, and bed. This would be the last time to
get to some of these parts before welding in the new structure.
 Here is the left side before blasting. We are blasting mid way onto the wheel
well and bed. Everything is all taped off and ready.
Here is the left side before blasting. We are blasting mid way onto the wheel
well and bed. Everything is all taped off and ready.
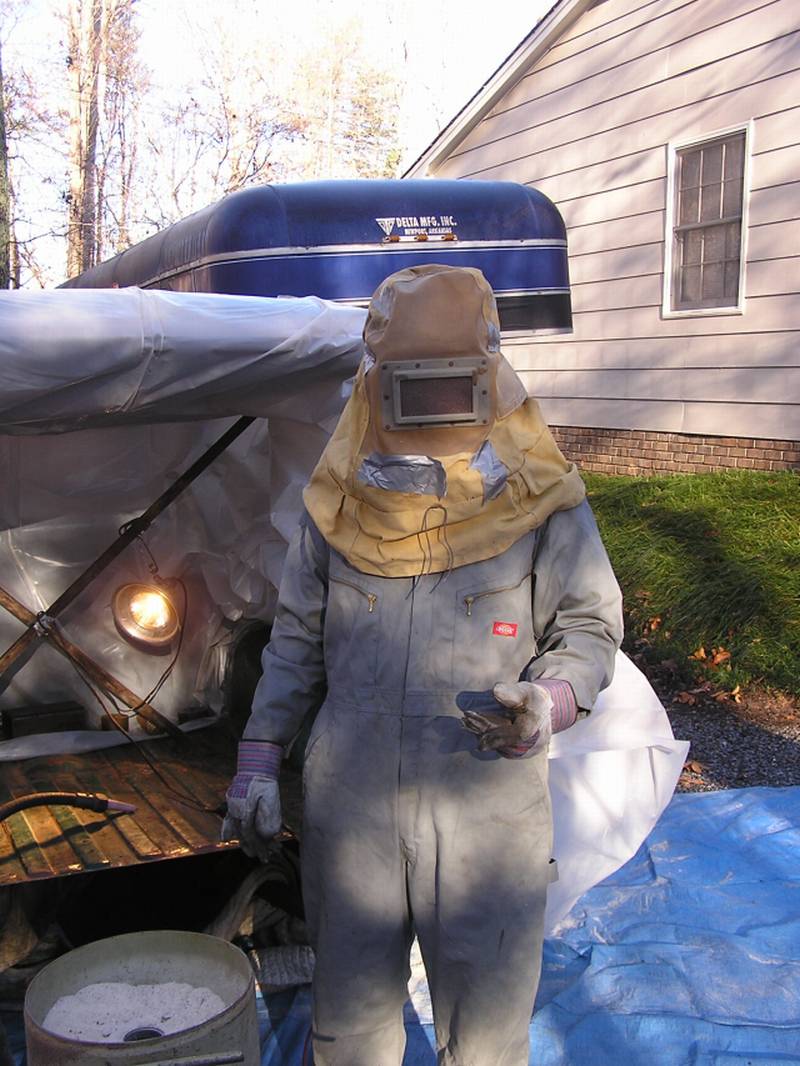
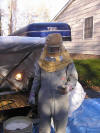 Flattering photo!
12/30/07
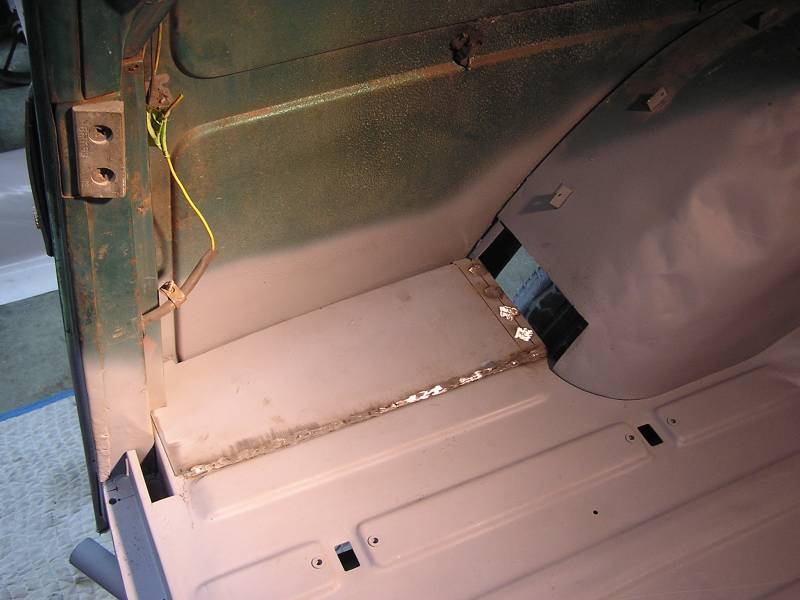
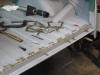
 Everything was primed with Dupont 2 part primer. In this photo you
can see where a large section of the bed on the left has been removed and also
the rear section of the wheel well at the back. These were rusty and will soon
be fixed. Here we have just begun fitting the new cross beam. This was a
purchased part, but despite this still required a good deal of modification to
get it right. The height is critical to the fit of the tailgates together. The
back lip, where the tailgate hinge mounts, needs to be 26 9/16" from the bottom
edge of the upper tailgate.
Everything was primed with Dupont 2 part primer. In this photo you
can see where a large section of the bed on the left has been removed and also
the rear section of the wheel well at the back. These were rusty and will soon
be fixed. Here we have just begun fitting the new cross beam. This was a
purchased part, but despite this still required a good deal of modification to
get it right. The height is critical to the fit of the tailgates together. The
back lip, where the tailgate hinge mounts, needs to be 26 9/16" from the bottom
edge of the upper tailgate.
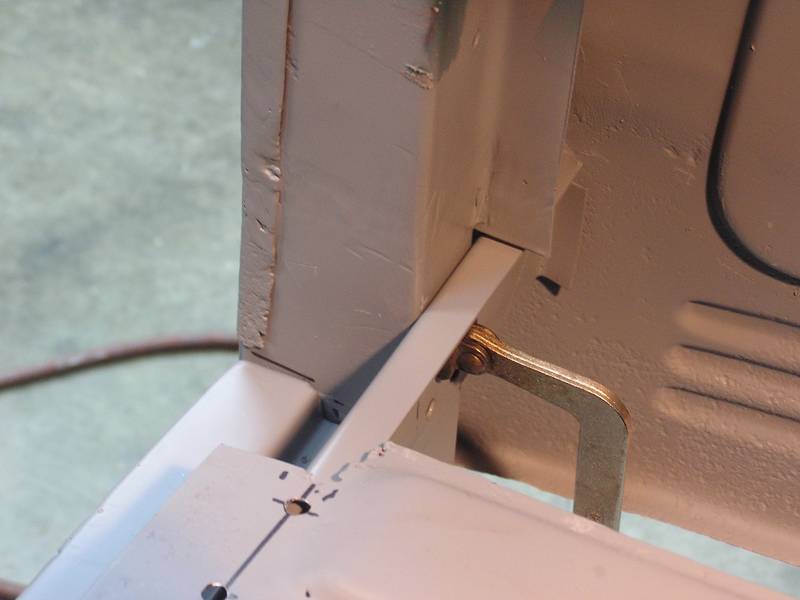
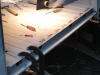
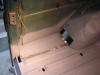
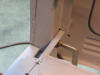 This close up shows how the cross beam attaches to the C posts.
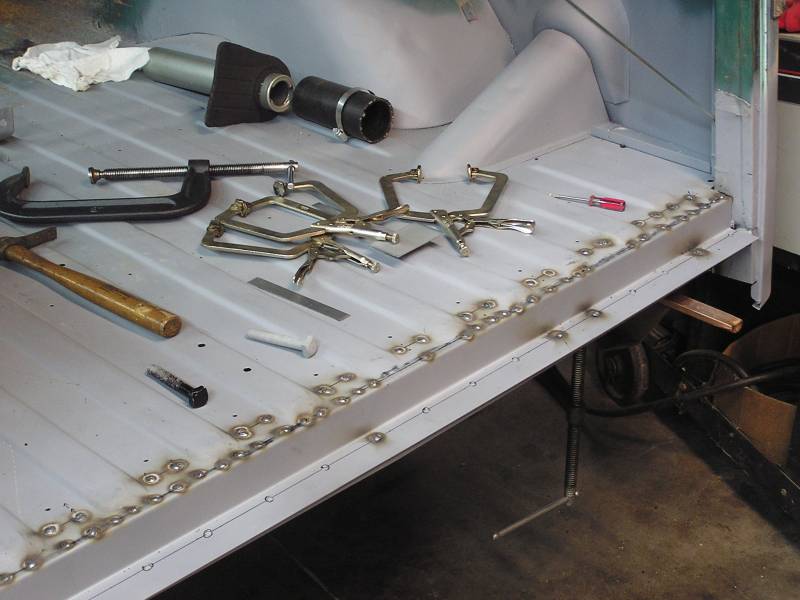
 Once the cross beam was all welded in, it was time to reattach the bed to it. The bed was clamped tight to the beam and plug welded.
 Almost all done tying the bed down. The welds will be ground flush later.
1/5/08
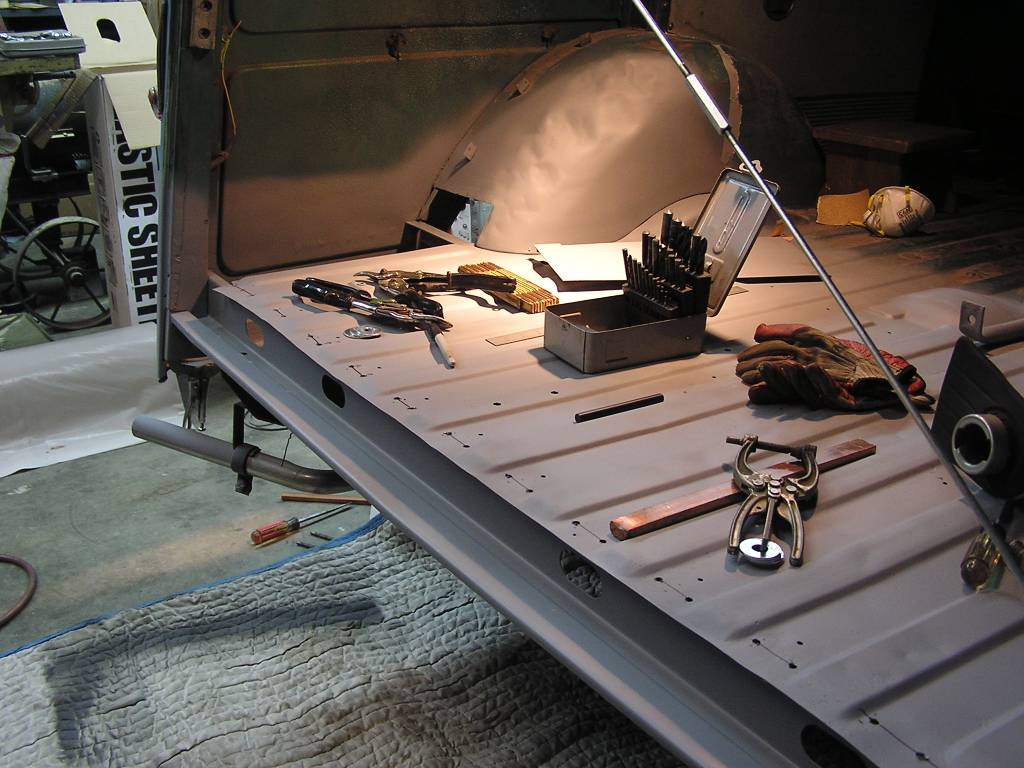
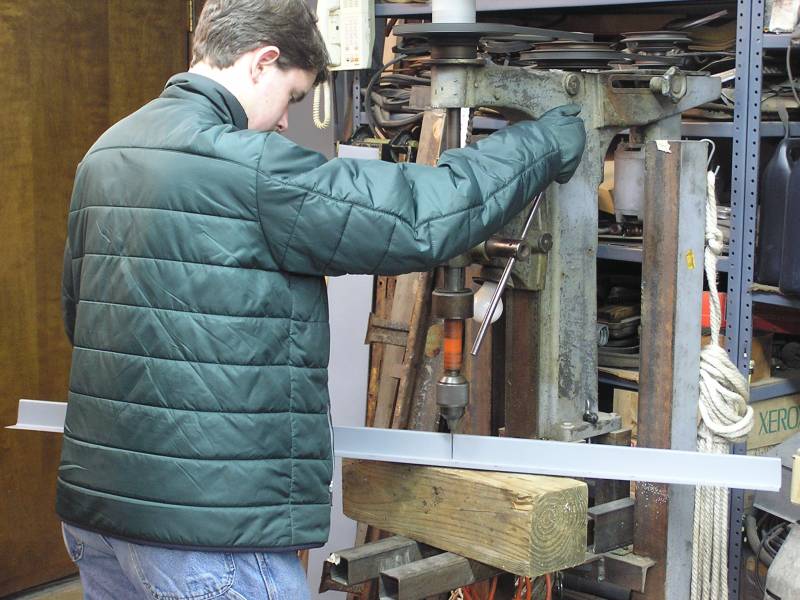
 Devin is drilling the holes in the next piece to go on. This is the closure
repair panel at the very back edge of the tailgate. The last 3/8" or so of the
bed. The metal then turns down and drops about an 1 1/2 and then horizontal
again and get spot welded to the beam already installed. Devin is drilling the
1/4" holes about every 3".
Devin is drilling the holes in the next piece to go on. This is the closure
repair panel at the very back edge of the tailgate. The last 3/8" or so of the
bed. The metal then turns down and drops about an 1 1/2 and then horizontal
again and get spot welded to the beam already installed. Devin is drilling the
1/4" holes about every 3".
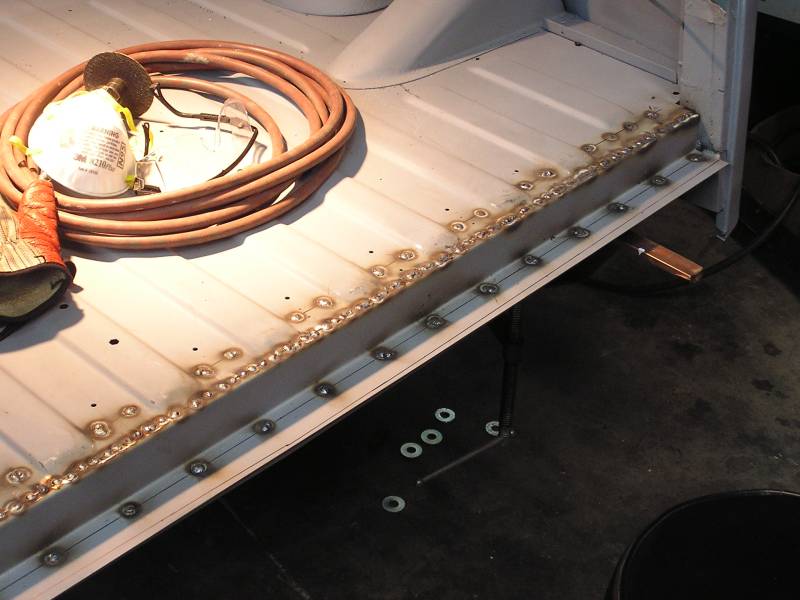
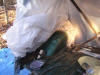
 Meanwhile I've sprayed heavy, rubberized undercoating in the trough of the beam,
to hopefully make it rust proof. It's gotta be better than the original, which
was just plain, non-treated metal.
Meanwhile I've sprayed heavy, rubberized undercoating in the trough of the beam,
to hopefully make it rust proof. It's gotta be better than the original, which
was just plain, non-treated metal.
 Here the bed closure panel has been fitted and tacking in begun. The plug welds
on the lower flange hold this tight to the beam below.
Here the bed closure panel has been fitted and tacking in begun. The plug welds
on the lower flange hold this tight to the beam below.
 Lots more tack welding. Tedious..... About this time all the welds are ground
flush, and then you stitch weld between all the little tack welds. Many hours
involved to keep it from all warping.
Lots more tack welding. Tedious..... About this time all the welds are ground
flush, and then you stitch weld between all the little tack welds. Many hours
involved to keep it from all warping.
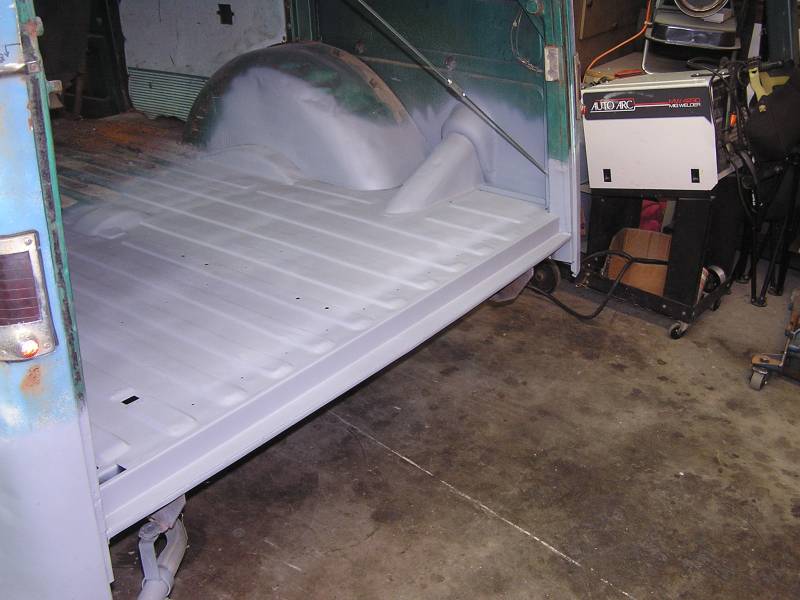
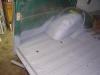
 All welded solid now, welds ground flush, and primed in Dupont 2 part primer.
There is NO body filler on this, primer only. Quite pleased with the outcome!
All welded solid now, welds ground flush, and primed in Dupont 2 part primer.
There is NO body filler on this, primer only. Quite pleased with the outcome!
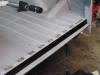
 Getting near the end of the aft bed repairs! This repair section was configured so the weld
line would be near the closest bed rib,
for stability when welding. Here it has been tacked every
1/2" or so and the welds ground flush. Next it will be stitched up solid,
making it completely waterproof.
Getting near the end of the aft bed repairs! This repair section was configured so the weld
line would be near the closest bed rib,
for stability when welding. Here it has been tacked every
1/2" or so and the welds ground flush. Next it will be stitched up solid,
making it completely waterproof.
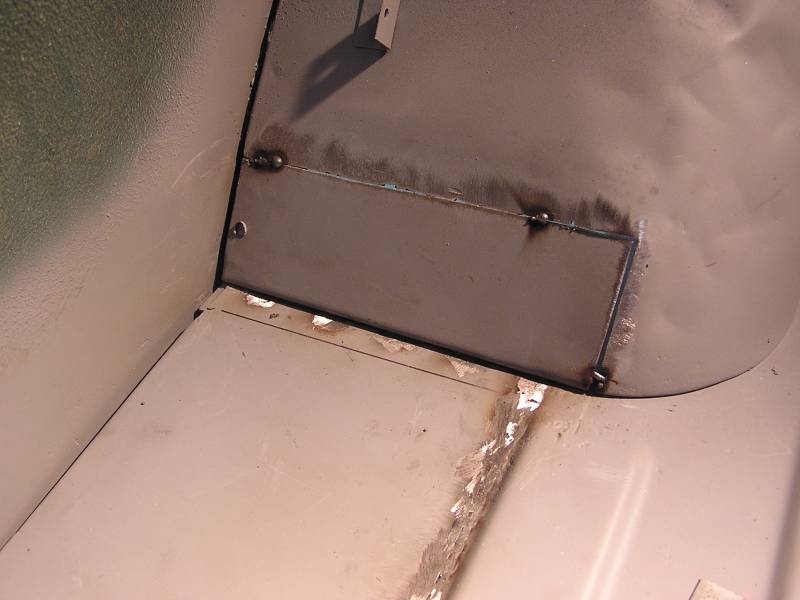
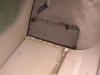 This wheel well patch has been fitted and tack welding begun.
 Here the welds have been ground flush and all primed, finishing the floor
repairs at the back
Here the welds have been ground flush and all primed, finishing the floor
repairs at the back
 The last item is to fit the rear valance panel. This was a purchased part. Like
the cross beam, it too had to be worked on to correct problems. Namely
correcting the overall length, and squaring the ends up, so it neatly matches
the quarter panels. The back end is starting to look decent again!
The last item is to fit the rear valance panel. This was a purchased part. Like
the cross beam, it too had to be worked on to correct problems. Namely
correcting the overall length, and squaring the ends up, so it neatly matches
the quarter panels. The back end is starting to look decent again!
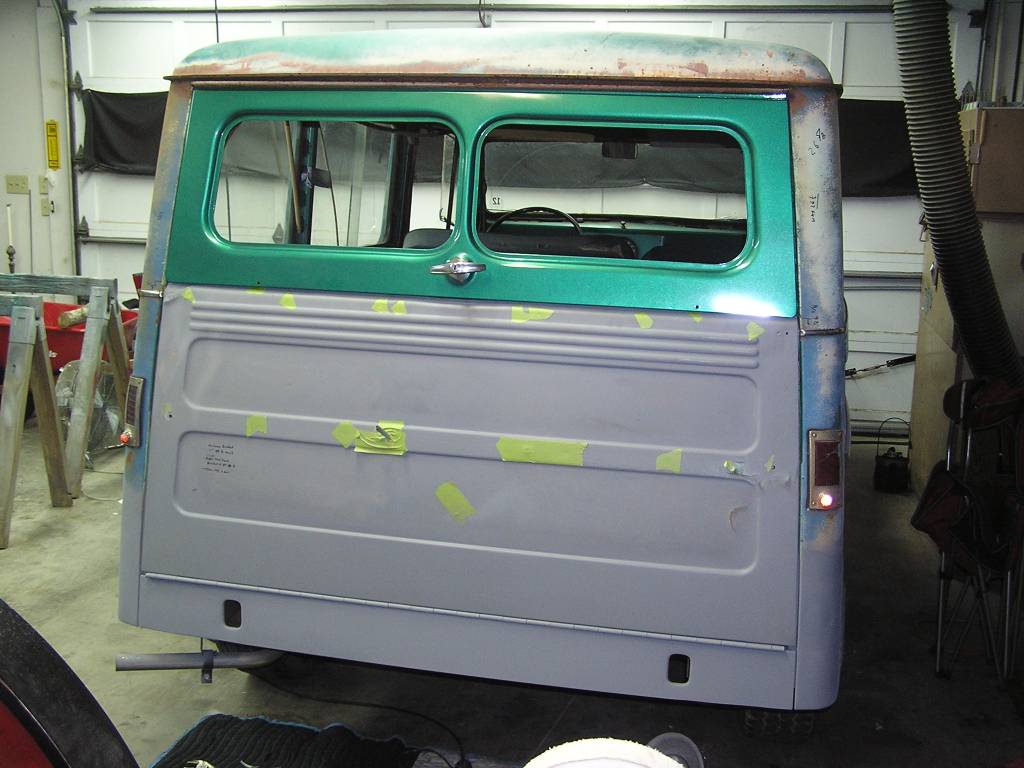
 Things are really beginning to shape up! The tailgate is back on and everything
lines up well. Have a little work to do on the top edge, but essentially the
tailgates and the back of the cab are finished.
Things are really beginning to shape up! The tailgate is back on and everything
lines up well. Have a little work to do on the top edge, but essentially the
tailgates and the back of the cab are finished.
 The structure at the back where the tailgate mounts was quite rusty. It was
decided to just remove it all and replace. The back 1 1/2" of the bed and the
structural member underneath have been removed. The rusty structural member is
sitting on the bed.
The structure at the back where the tailgate mounts was quite rusty. It was
decided to just remove it all and replace. The back 1 1/2" of the bed and the
structural member underneath have been removed. The rusty structural member is
sitting on the bed.