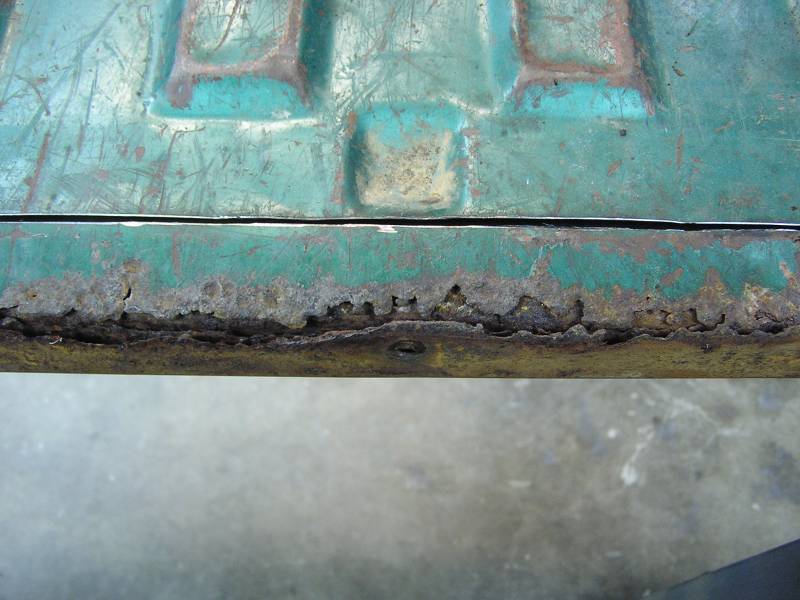
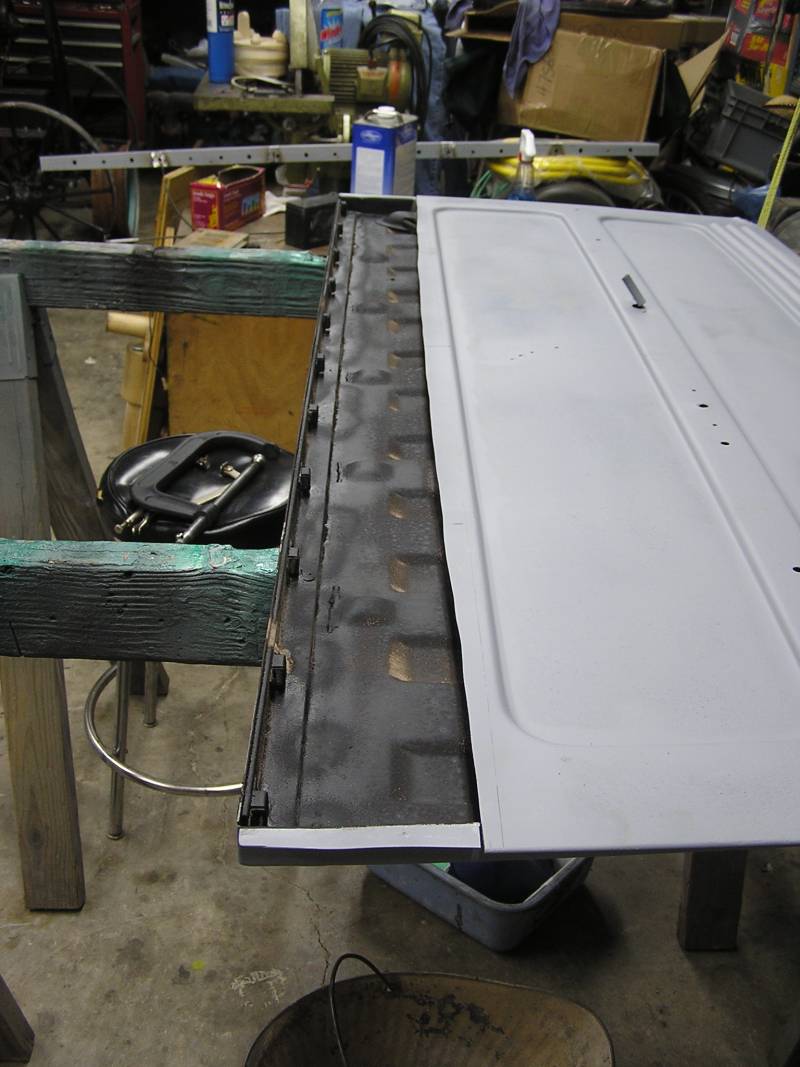
 The bottom edge of the tailgate is quite rusty....very typical. This is where
the piano hinge mounts so it has been cut out to replace with sound metal.
The bottom edge of the tailgate is quite rusty....very typical. This is where
the piano hinge mounts so it has been cut out to replace with sound metal.
The bottom edge of the tailgate is quite rusty....very typical. This is where
the piano hinge mounts so it has been cut out to replace with sound metal.
 The inside skin and 1 x 1 x 1/8 angle removed.
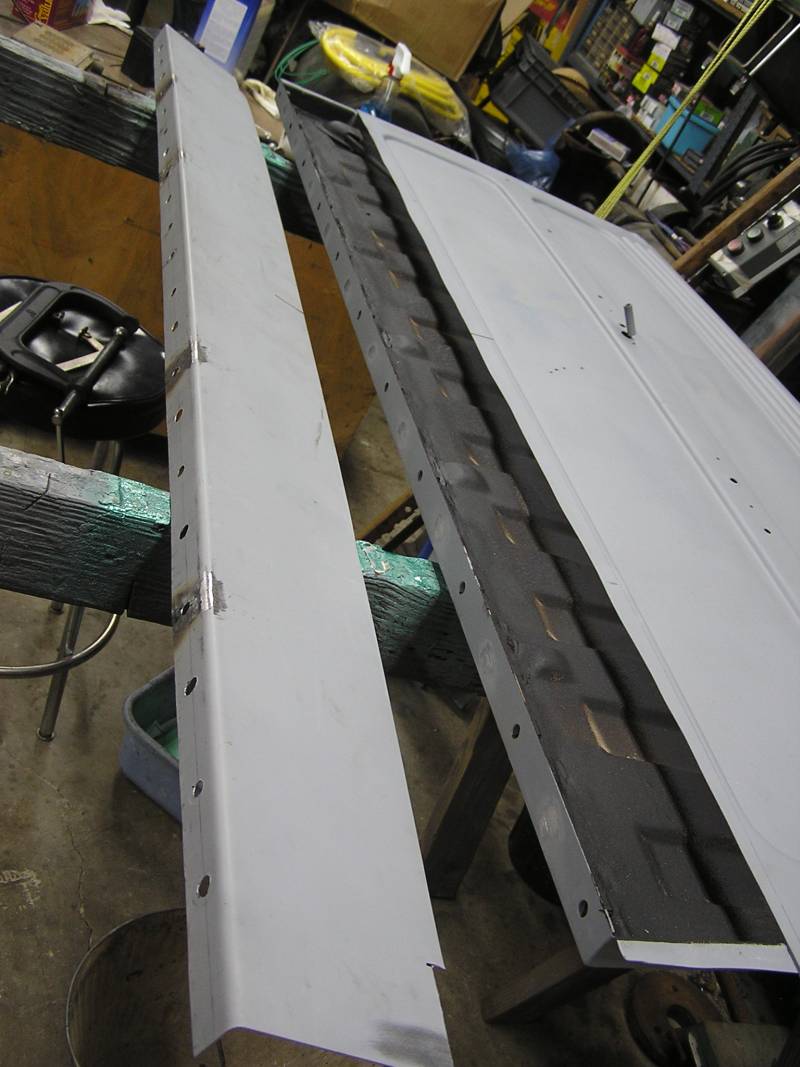
 The repair panel has been welded in and welds ground flush on both sides. The
original rusty piece is in the foreground.
The repair panel has been welded in and welds ground flush on both sides. The
original rusty piece is in the foreground.
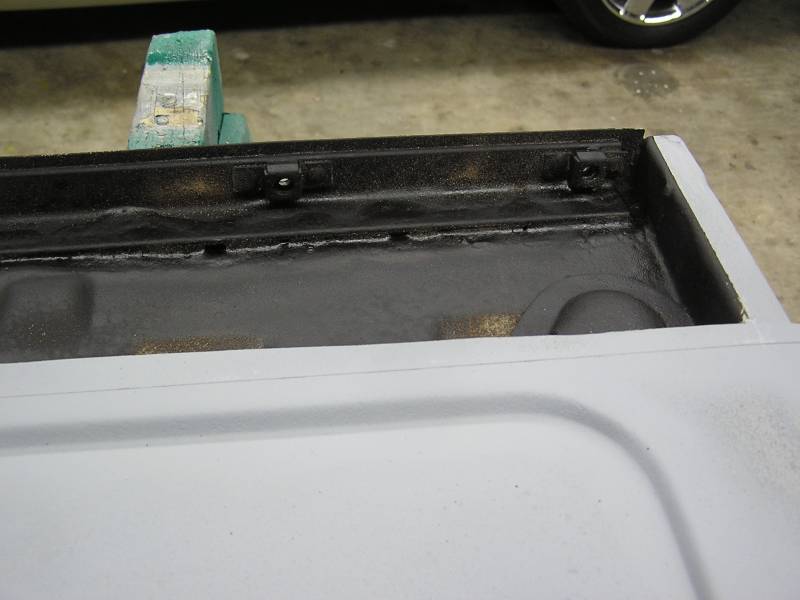 A view of the same from the inside. Undercoating has been applied to hopefully
prevent any future rust out to the prone area.
A view of the same from the inside. Undercoating has been applied to hopefully
prevent any future rust out to the prone area.
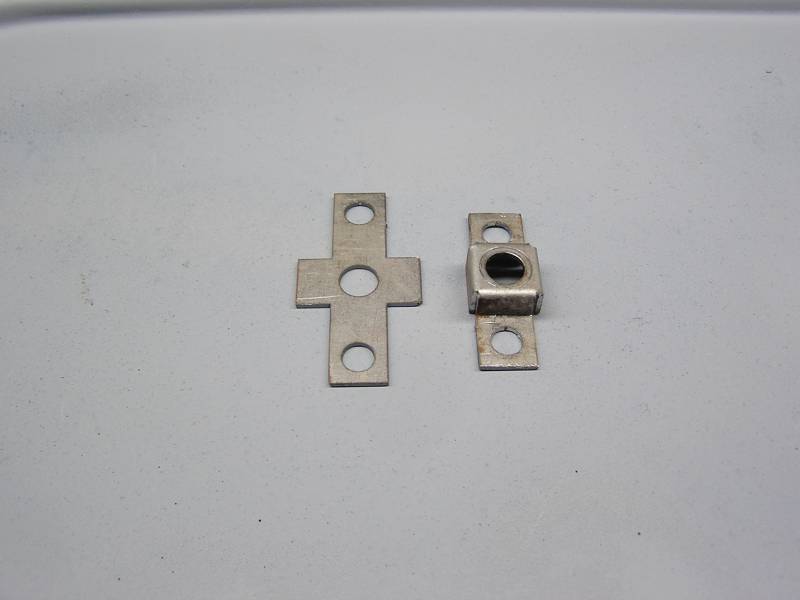 In
the above photo the clips that hold the square nuts that the hinge attaches to
are seen. These couldn't be bought so a flat pattern was developed and these
were laser burned. A simple bend fixture was made to bend them to shape. 22 in
all were needed.
In
the above photo the clips that hold the square nuts that the hinge attaches to
are seen. These couldn't be bought so a flat pattern was developed and these
were laser burned. A simple bend fixture was made to bend them to shape. 22 in
all were needed.
 Another view of the inside skins' repair.
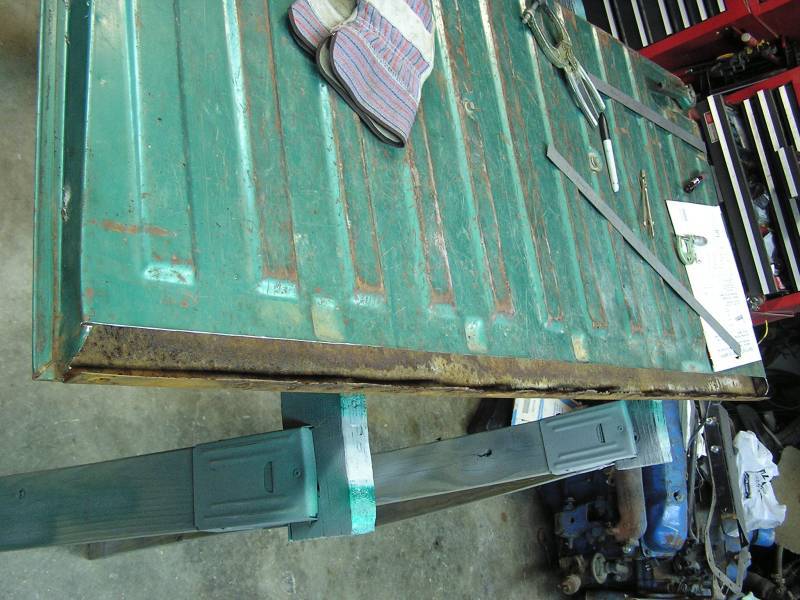
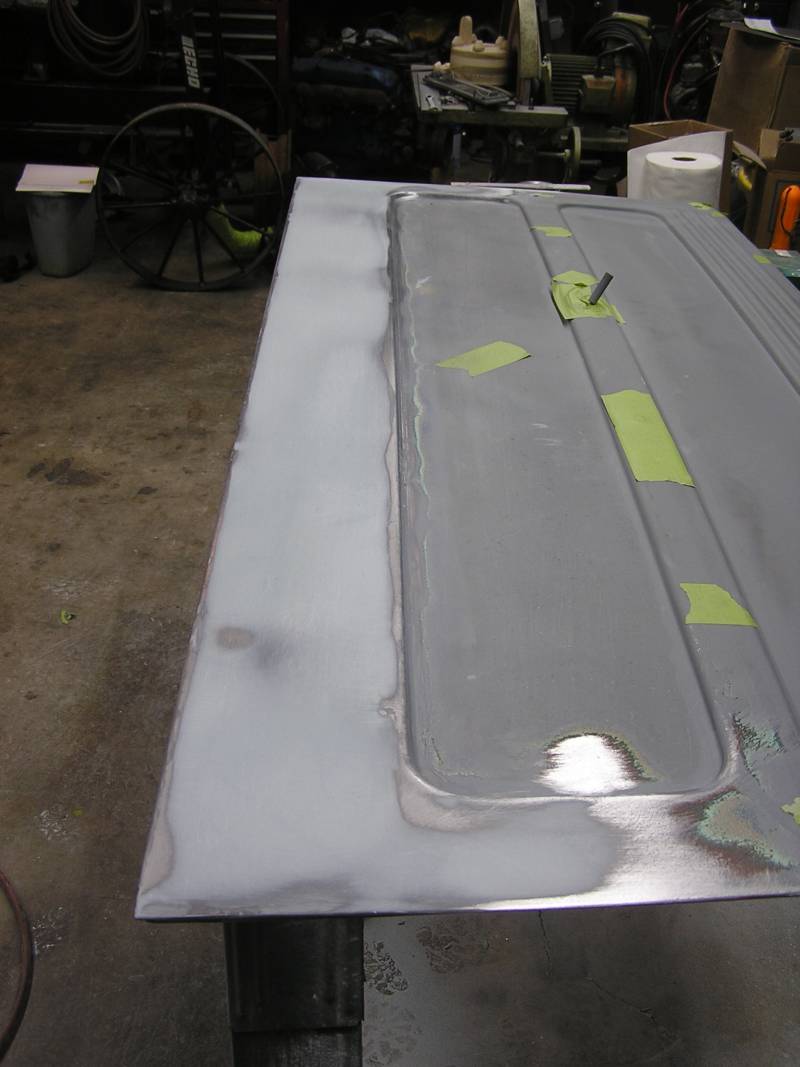
 This is the patch panel for the outer skin. Adding to the challenge is that the tailgate is
not flat, but rather it has roughly 3/8" of crown over the 60" width. The patch panel
was made using a standard sheet metal break, thus resulting in a flat panel. To
make the patch panel have crown,
the short flange (1 1/2") was cut multiple locations (between the holes), and
then simply welded back together. This contracts the flange adding crown. The
more cuts and rewelds the better the result, but this is traded off by more
crown. I actually had about 1" of crown after doing this. The welds were then
ground flush on both side and then a small peen was used while holding the
flange over an anvil. The process of stretching the metal back out begins until
the desired crown is achieved. It sounds like a long process, but in about 20
minutes it was done.
This is the patch panel for the outer skin. Adding to the challenge is that the tailgate is
not flat, but rather it has roughly 3/8" of crown over the 60" width. The patch panel
was made using a standard sheet metal break, thus resulting in a flat panel. To
make the patch panel have crown,
the short flange (1 1/2") was cut multiple locations (between the holes), and
then simply welded back together. This contracts the flange adding crown. The
more cuts and rewelds the better the result, but this is traded off by more
crown. I actually had about 1" of crown after doing this. The welds were then
ground flush on both side and then a small peen was used while holding the
flange over an anvil. The process of stretching the metal back out begins until
the desired crown is achieved. It sounds like a long process, but in about 20
minutes it was done.
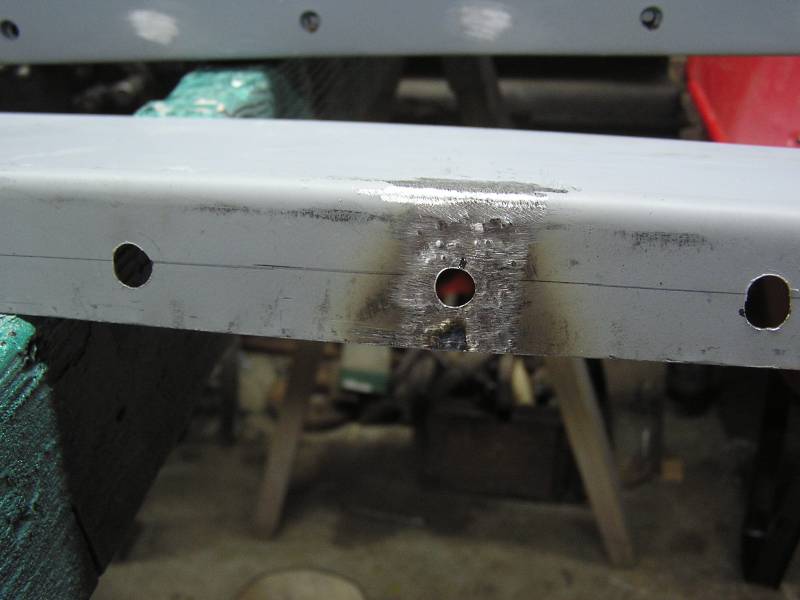 A close up of one of the re-weld areas. A hole has now been drilled thru this
area and this is where the patch panel will be plug welded to the inner skin.
The holes on the right and left are where the hinge mounts to the tailgate.
A close up of one of the re-weld areas. A hole has now been drilled thru this
area and this is where the patch panel will be plug welded to the inner skin.
The holes on the right and left are where the hinge mounts to the tailgate.
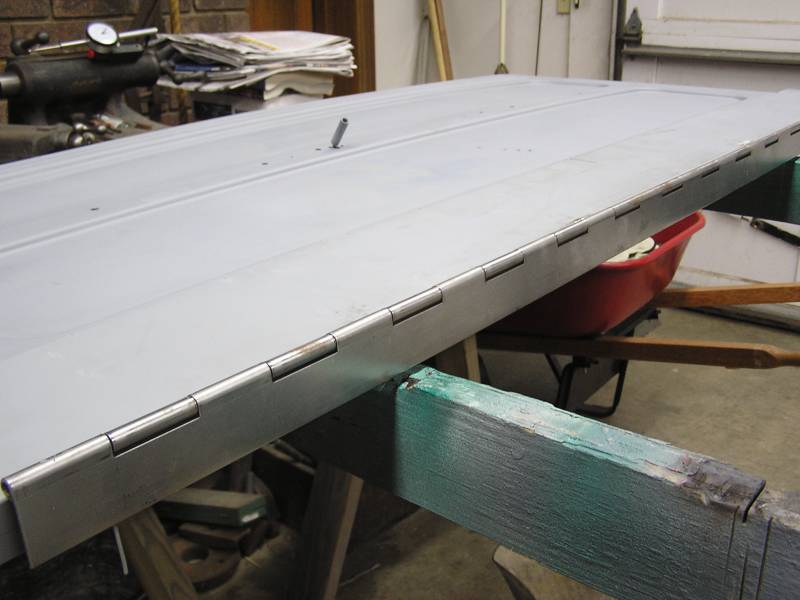 Here the hinge is being checked for fit.
 And the hinge swung open. All looks good.
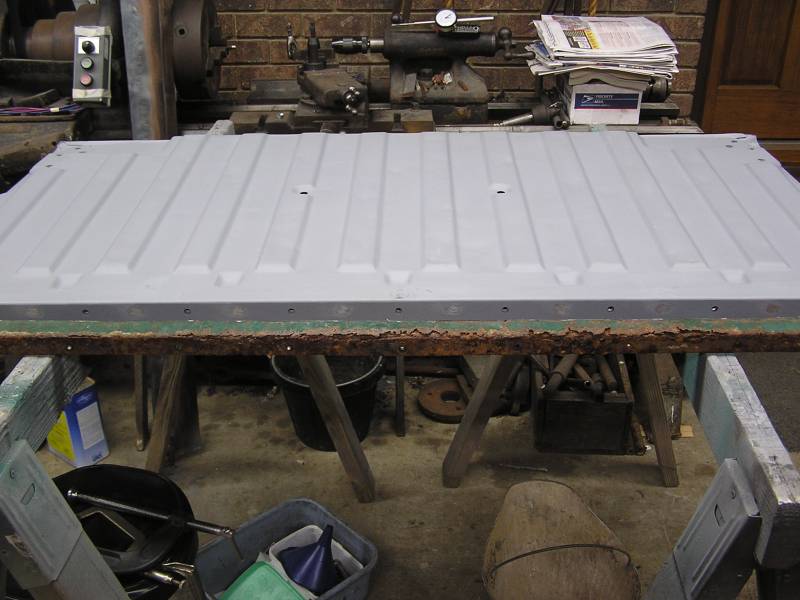
 The patch panel has been welded in, the welds ground flush and a layer of Metal
to Metal applied. Then a thin layer of body filler to smooth every thing out.
The patch panel has been welded in, the welds ground flush and a layer of Metal
to Metal applied. Then a thin layer of body filler to smooth every thing out.
 And a view of the same from the other side. Should make for a nice repair.
A lot of this work is sort of "one man" work leaving Devin with a lot of idle time. So while some of this work was being done Devin was sandblasting in the cabinet blaster. One clean he gave spraying some Dupont Imron black a try. Yes, I bought him a brand new carbon filter respirator.
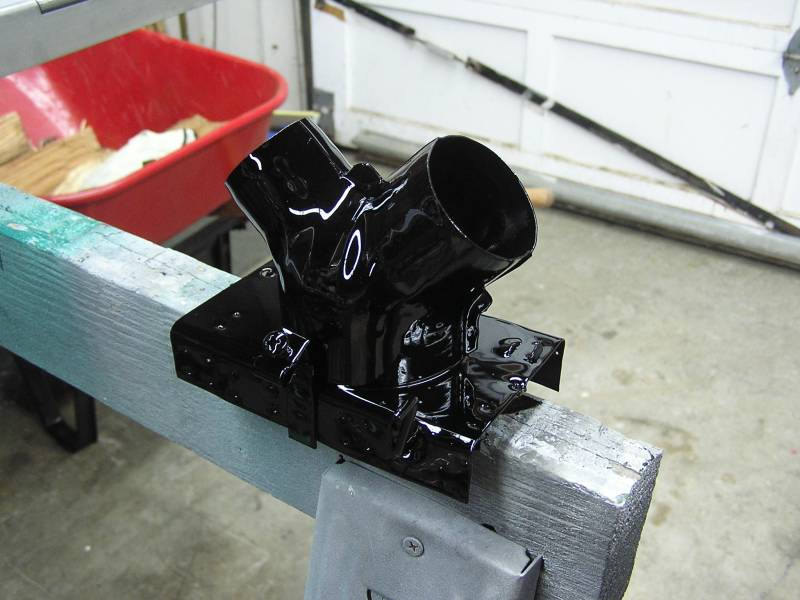 This is part of the air distribution system / defroster. Pretty darned good
shine for his first painted parts!
This is part of the air distribution system / defroster. Pretty darned good
shine for his first painted parts!
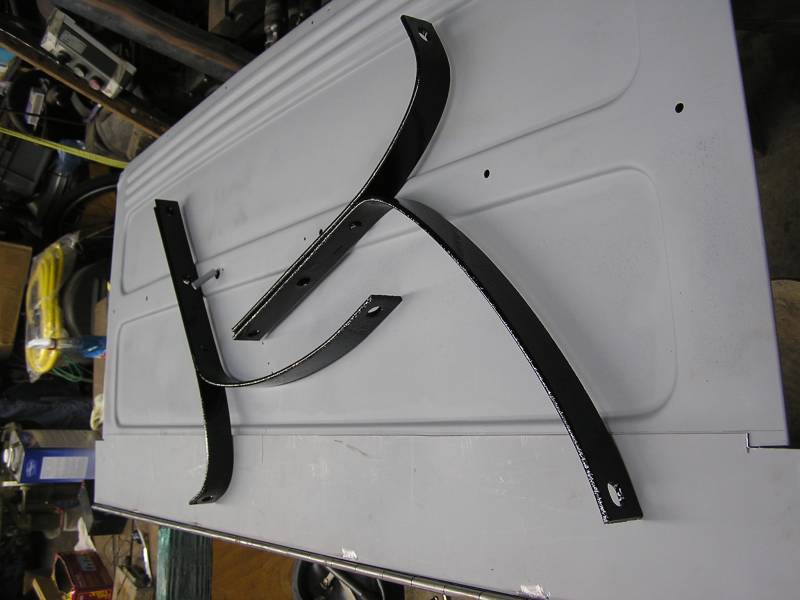 These are the back bumper brackets.
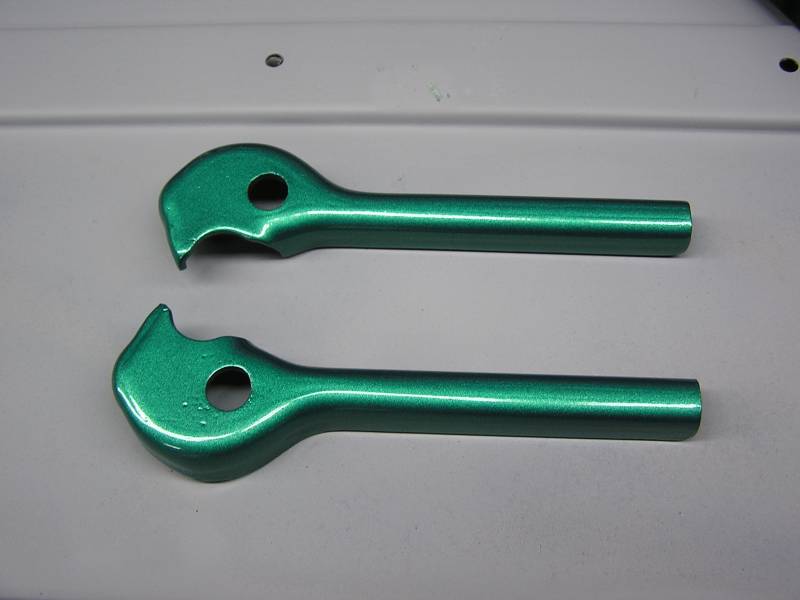 And next he tried painting some of the green metallic paint. These turned out
really good too!
And next he tried painting some of the green metallic paint. These turned out
really good too!
More later.....
Click here to return to the restoration page.