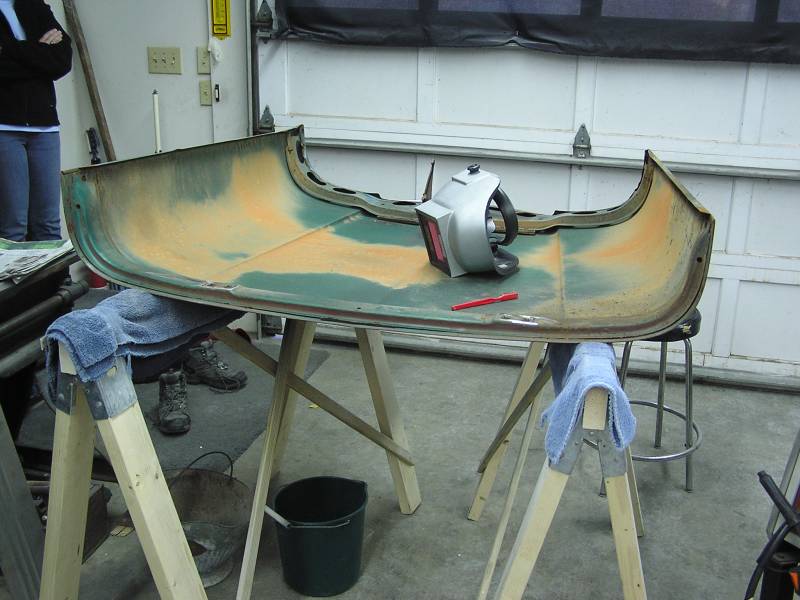
 As we are about wrapped up with the door repairs we decided to go ahead and get
started on the hood. The hood is remarkably straight considering the age of it.
As we are about wrapped up with the door repairs we decided to go ahead and get
started on the hood. The hood is remarkably straight considering the age of it.3/23/08
As we are about wrapped up with the door repairs we decided to go ahead and get
started on the hood. The hood is remarkably straight considering the age of it.
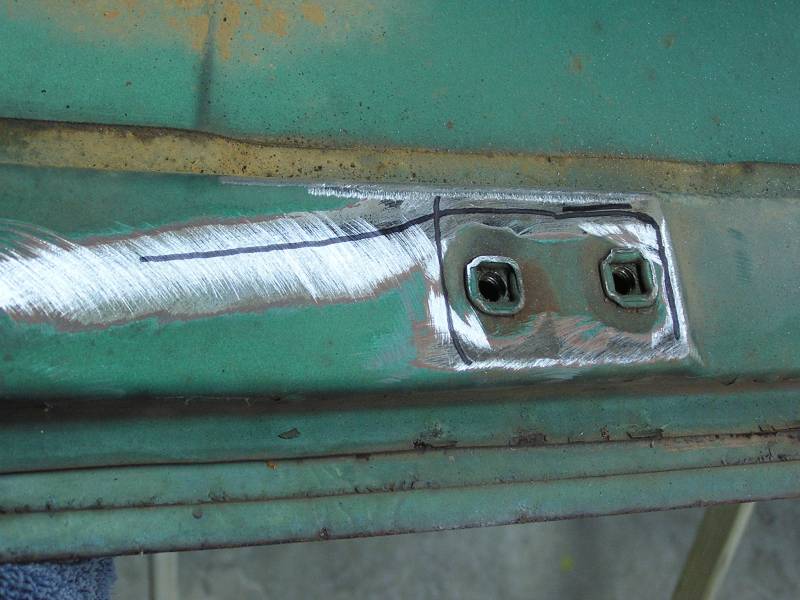 A close look began to reveal some problems however. The marker indicates fatigue
cracks around the hood mounts.
A close look began to reveal some problems however. The marker indicates fatigue
cracks around the hood mounts.
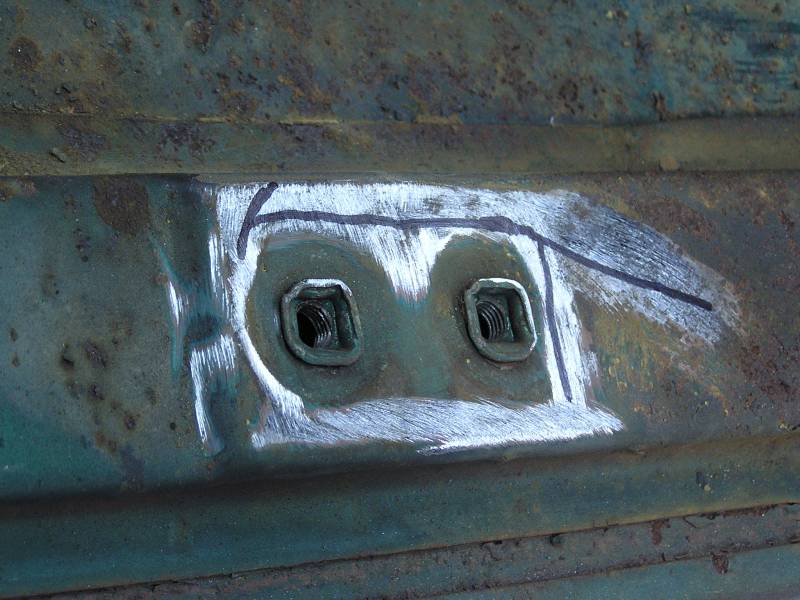 Same thing on the other side. We'll just run a bead of weld along each crack and
grind them flush. Easy repair.
Same thing on the other side. We'll just run a bead of weld along each crack and
grind them flush. Easy repair.
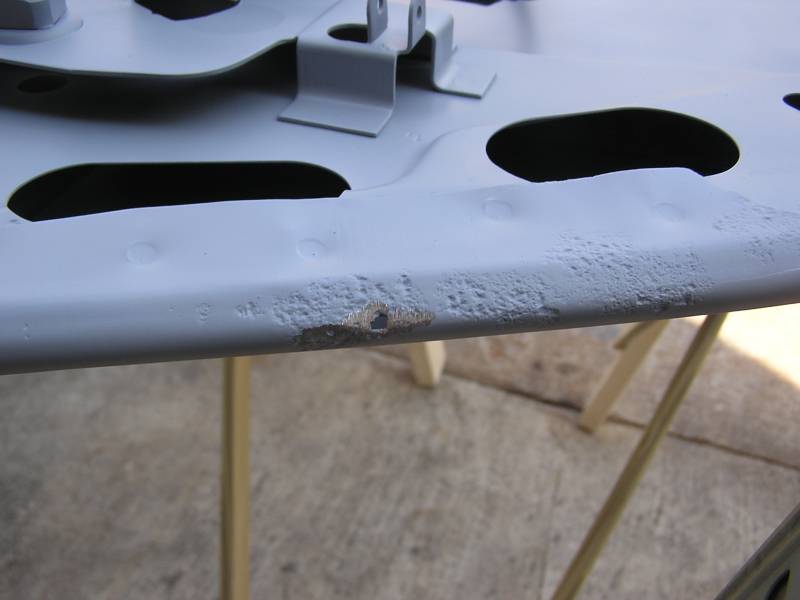 After a couple of hours of sandblasting and priming with self etching primer is
was time to weld up the holes the blasting revealed. The only right way to
repair little holes like this are to weld them in.
After a couple of hours of sandblasting and priming with self etching primer is
was time to weld up the holes the blasting revealed. The only right way to
repair little holes like this are to weld them in.
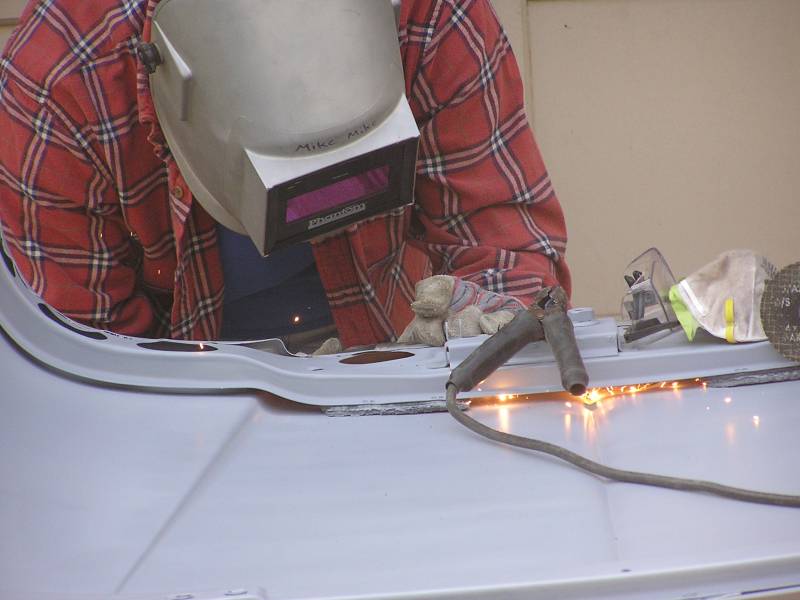 Devin captures a couple of photos of the welding. The welds will be ground flush
and make it good as new.
Devin captures a couple of photos of the welding. The welds will be ground flush
and make it good as new.
 A couple of places on the lower left corner needed attention too.
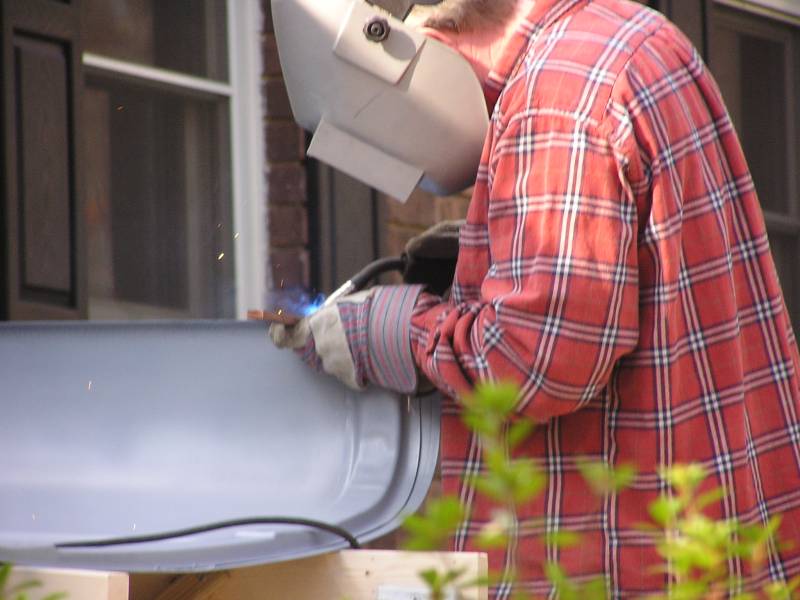 And a couple of places on the rolled lip at the bottom were pin holed. Note the
copper bar used as back up. Very useful in preventing blowouts in the welds!
And a couple of places on the rolled lip at the bottom were pin holed. Note the
copper bar used as back up. Very useful in preventing blowouts in the welds!
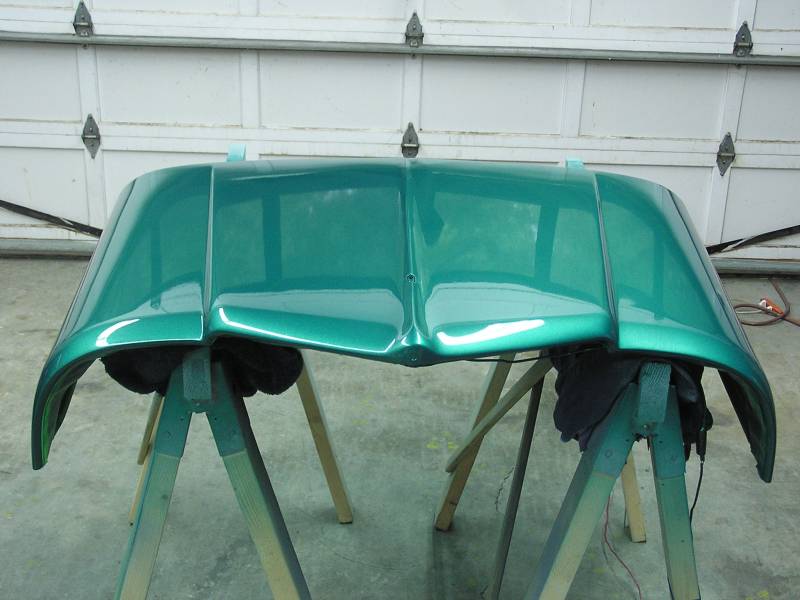
Next a little body filler to smooth everything out and lots of 2 part primer surfacer work and the hood was ready to paint. So the evening of 4/30/08 the under side of the hood was sprayed in the dark metallic green.
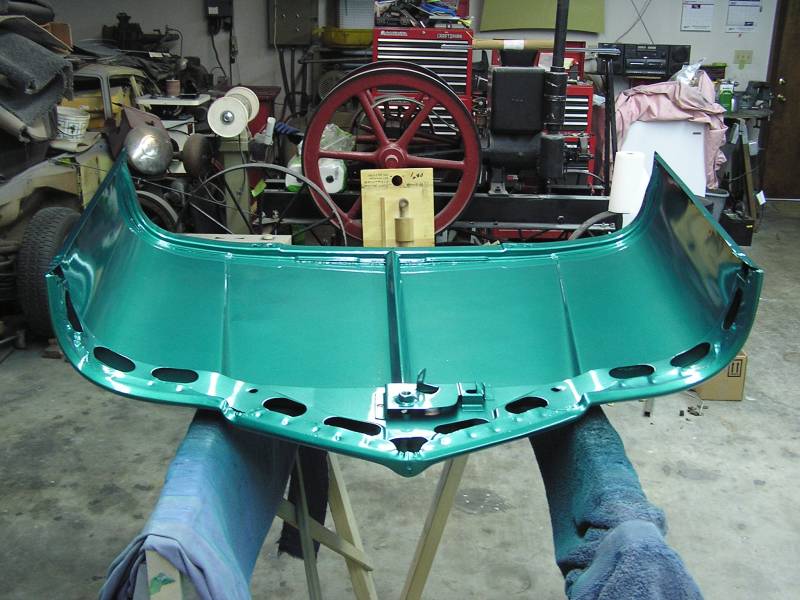 Underside of the hood from the front side.
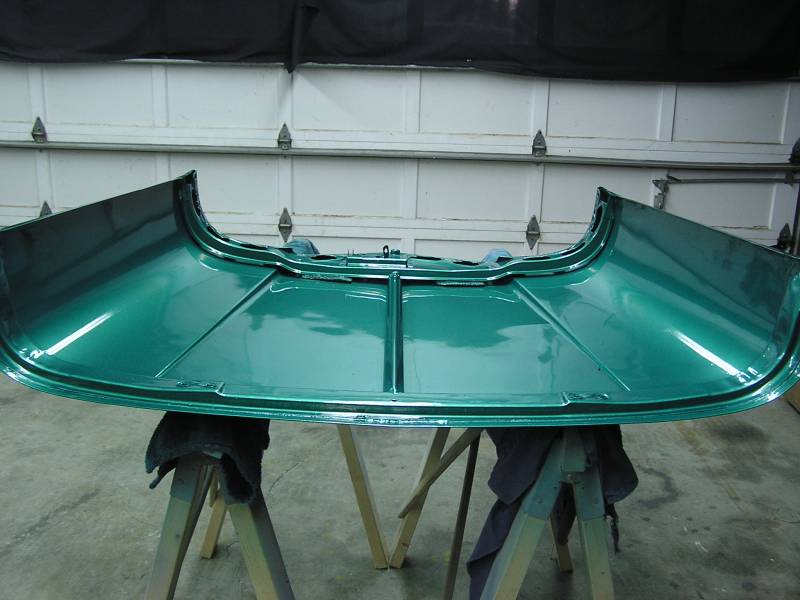 .....and from the opposite side. Gotta love that Imron shine!
5/11/08 update:
Finally got some much needed rain and this is the perfect time to spray paint as the dust levels are low. With the underside all taped off the top coat was sprayed.
 Sweet!
Here are 2 high resolution images:
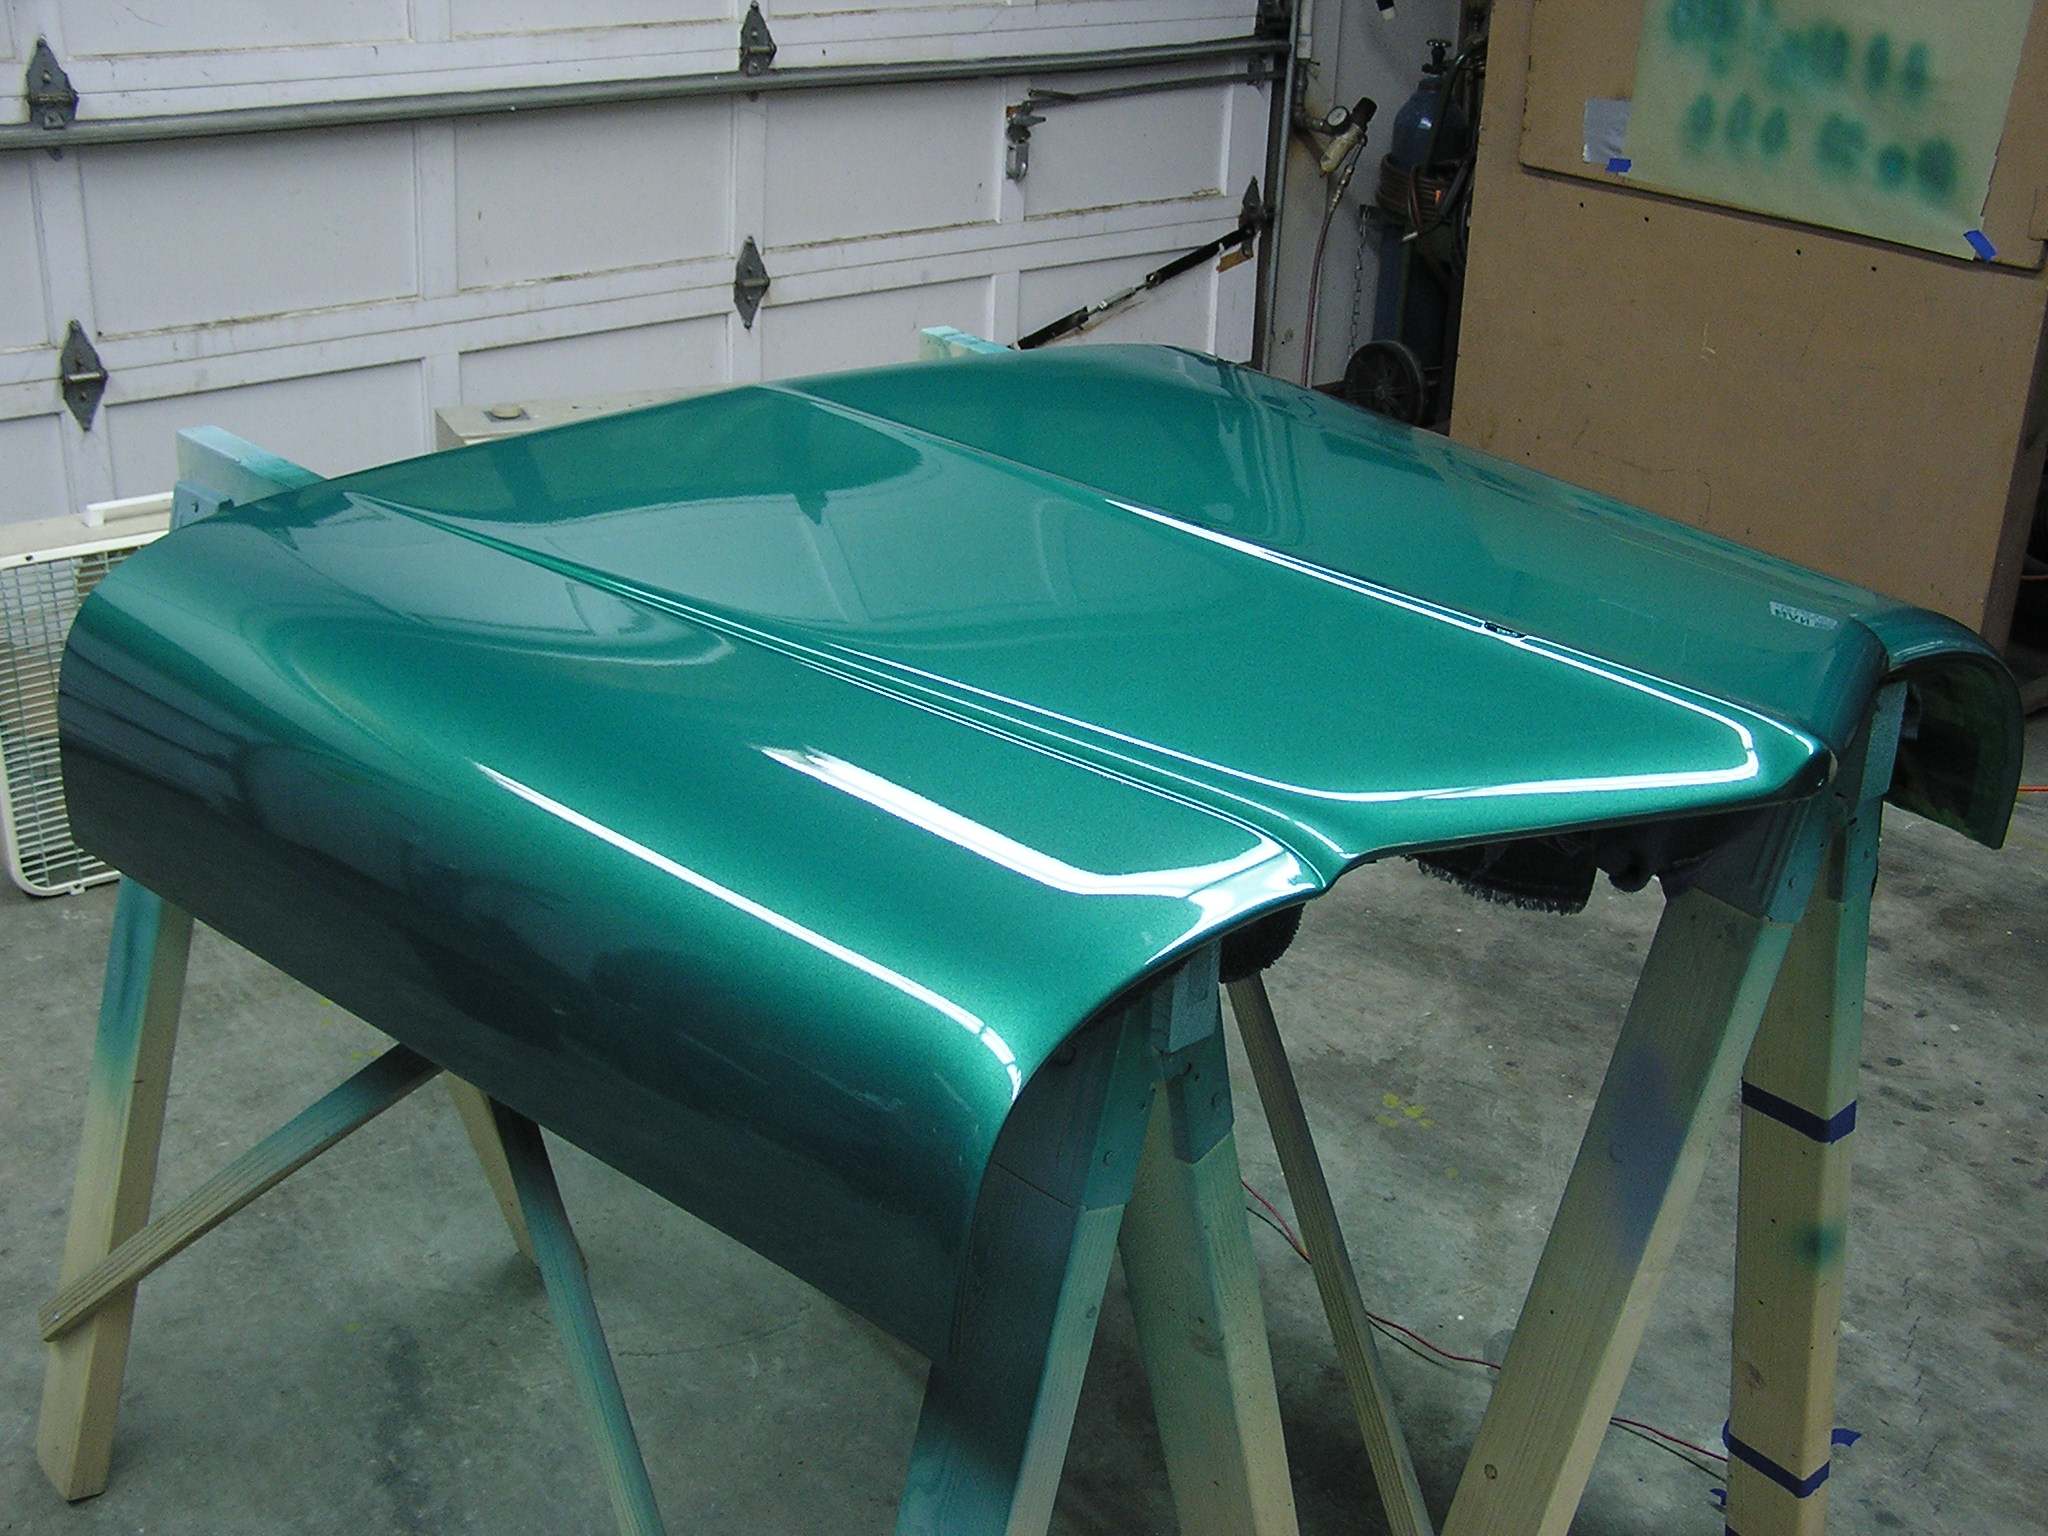
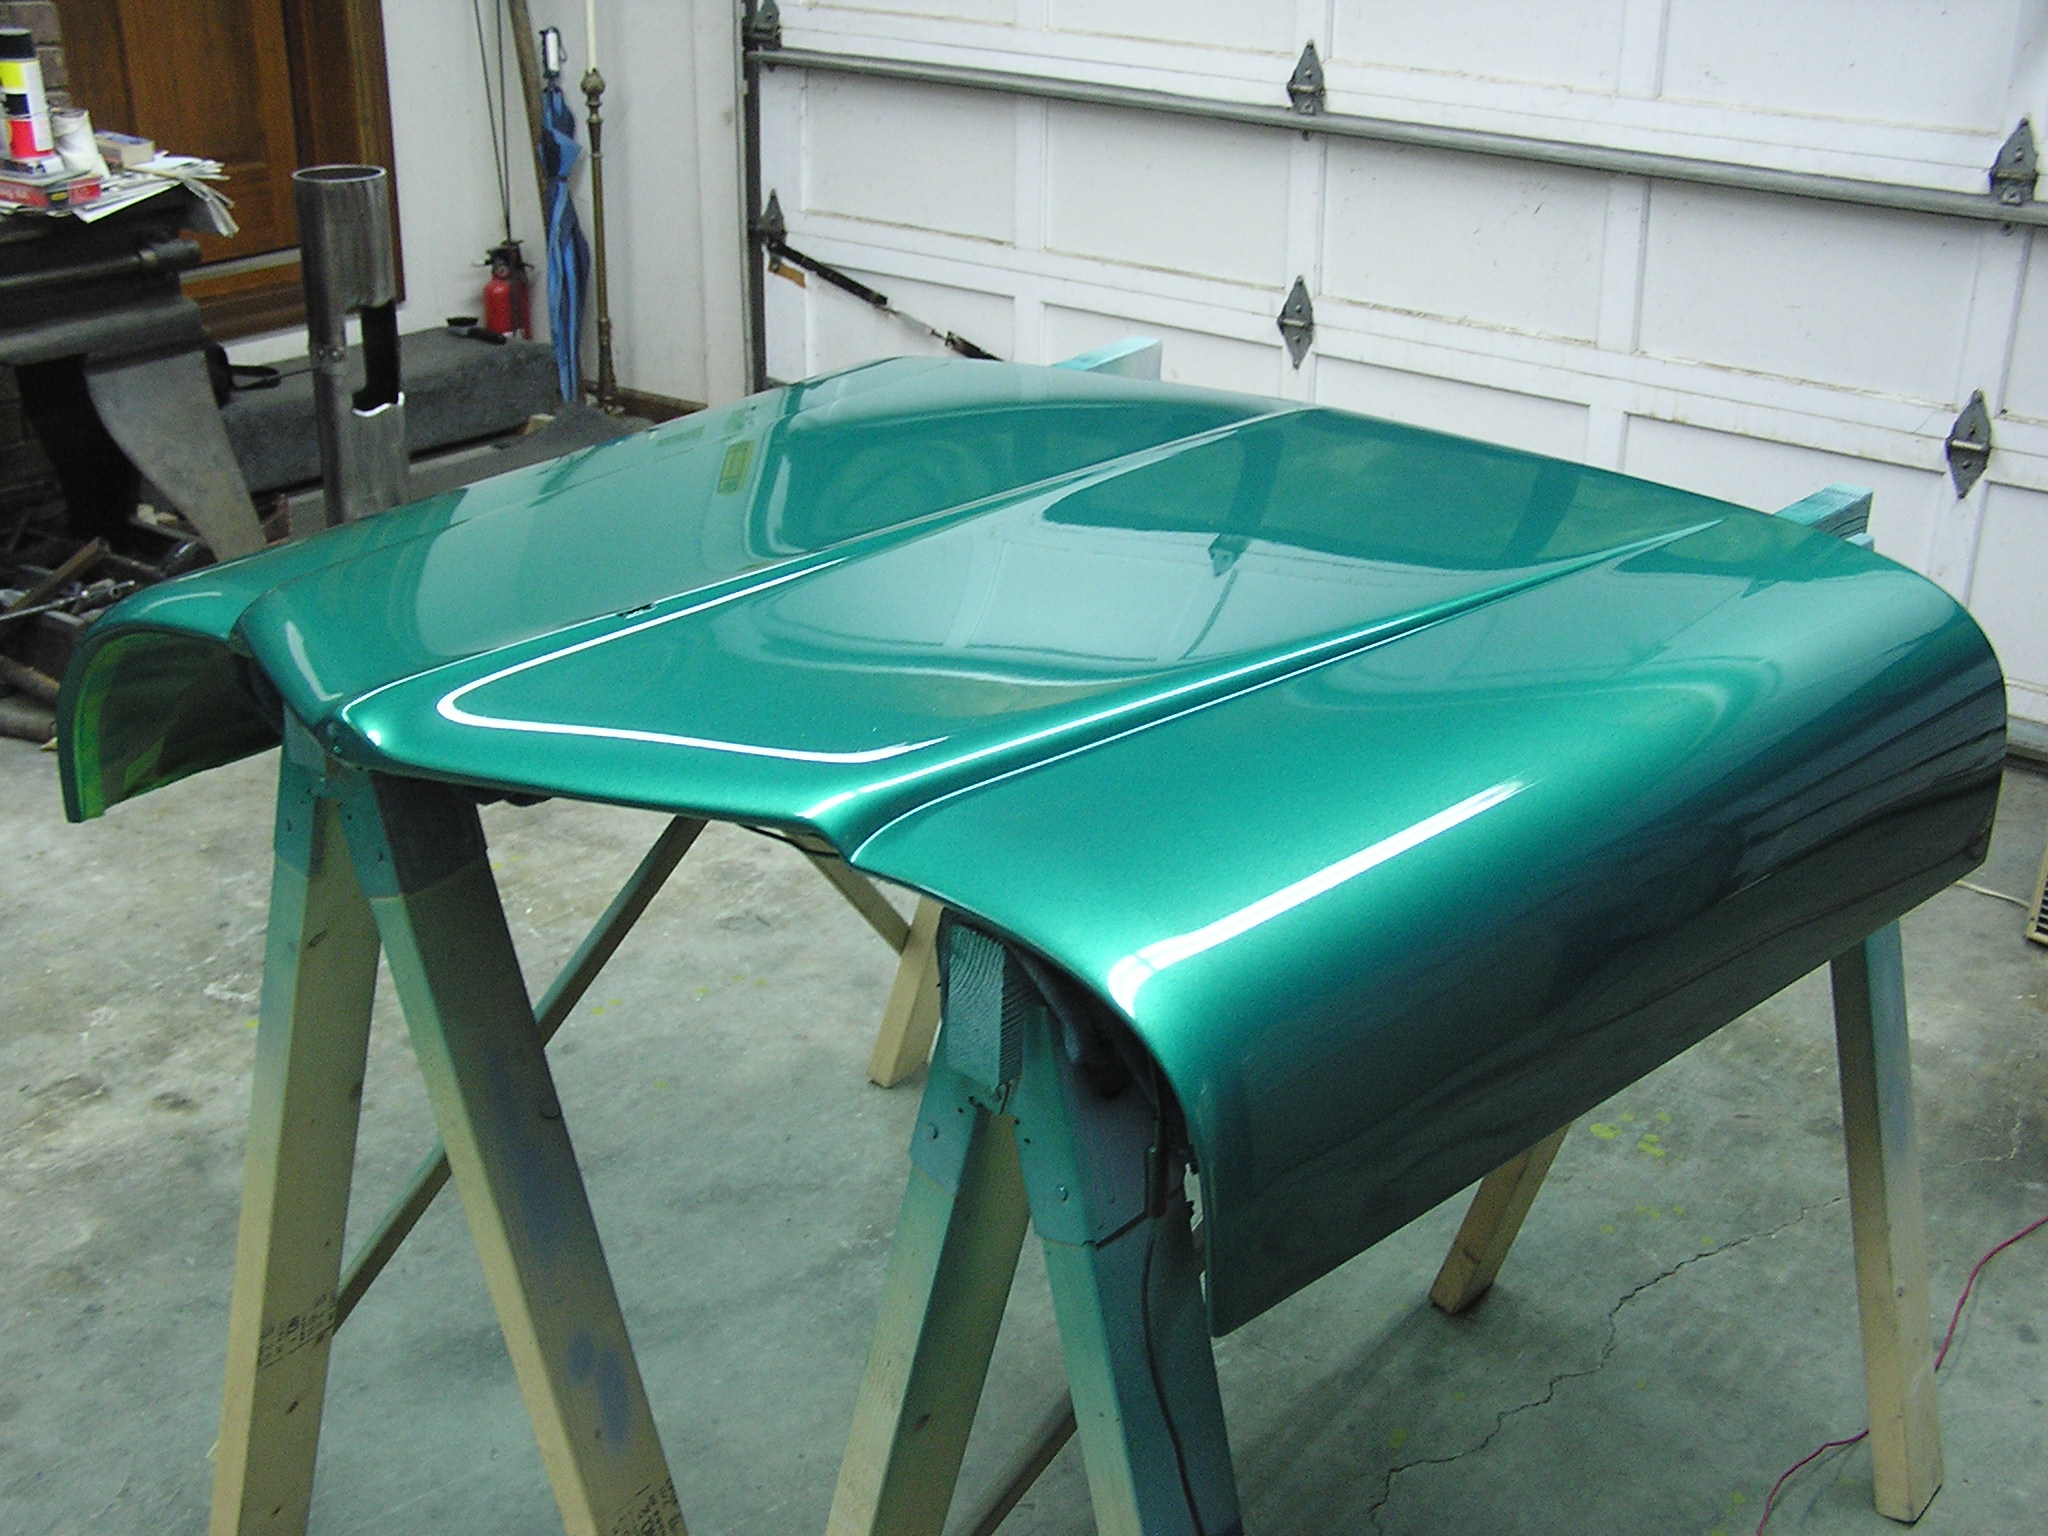
Ahh it's great to have another part finished! On to fenders next.