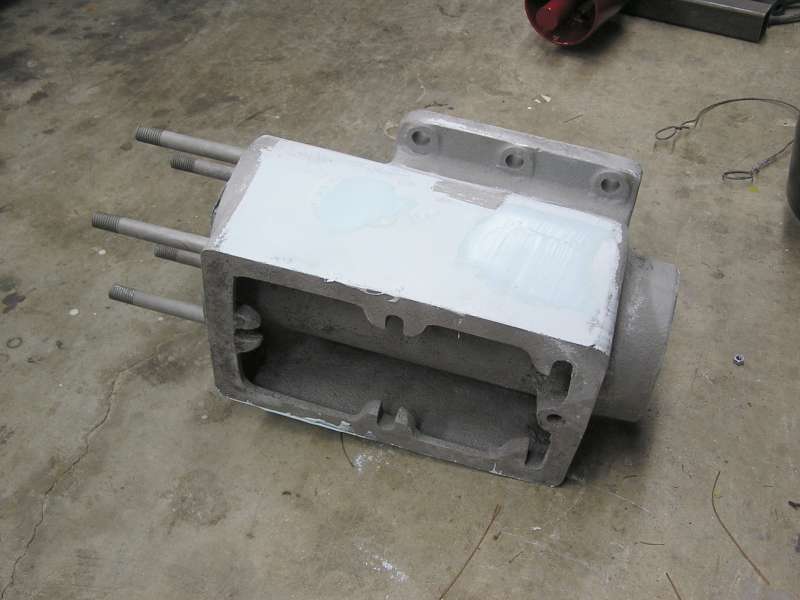
 Here the 6HP water hopper has been sandblasted and skim coated with a layer of
icing. Now the fun starts with filing and sanding!
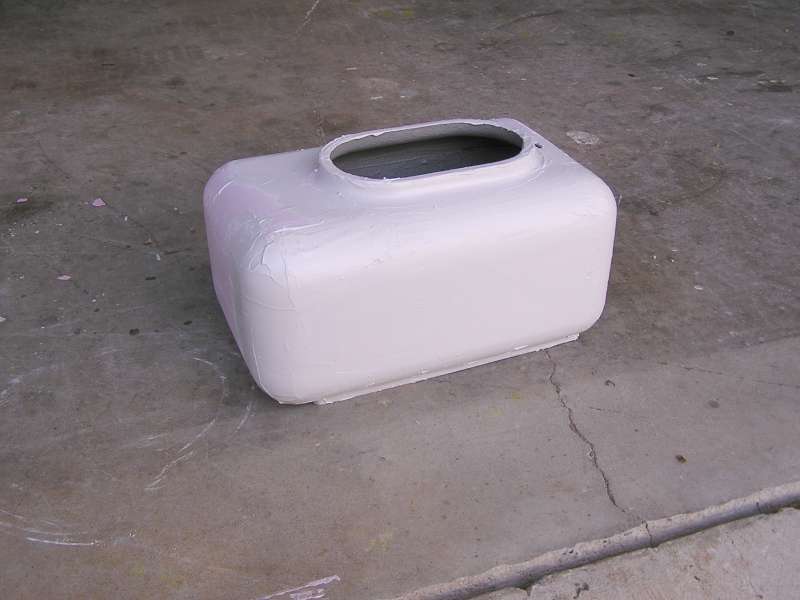
Here the 6HP water hopper has been sandblasted and skim coated with a layer of
icing. Now the fun starts with filing and sanding!Click on the small thumbnail pictures to see a full size.
I can't get too enthusiastic about slicking a large engine, but there are a few parts that need to have a good finish just so the water transfer decals lay flat so they look decent. The water hopper is one of those parts.
Here the 6HP water hopper has been sandblasted and skim coated with a layer of
icing. Now the fun starts with filing and sanding!
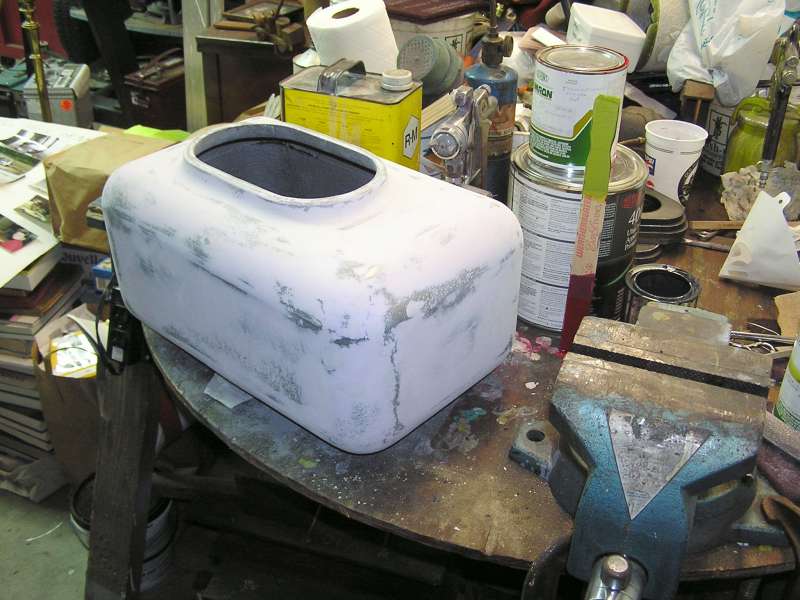 Icing is all sanded and it ready for the Dupont 2 part urethane primer. Remember
that "messiest shop contest" we had a few years ago? Maybe I should have
submitted this work bench photo!
Icing is all sanded and it ready for the Dupont 2 part urethane primer. Remember
that "messiest shop contest" we had a few years ago? Maybe I should have
submitted this work bench photo!
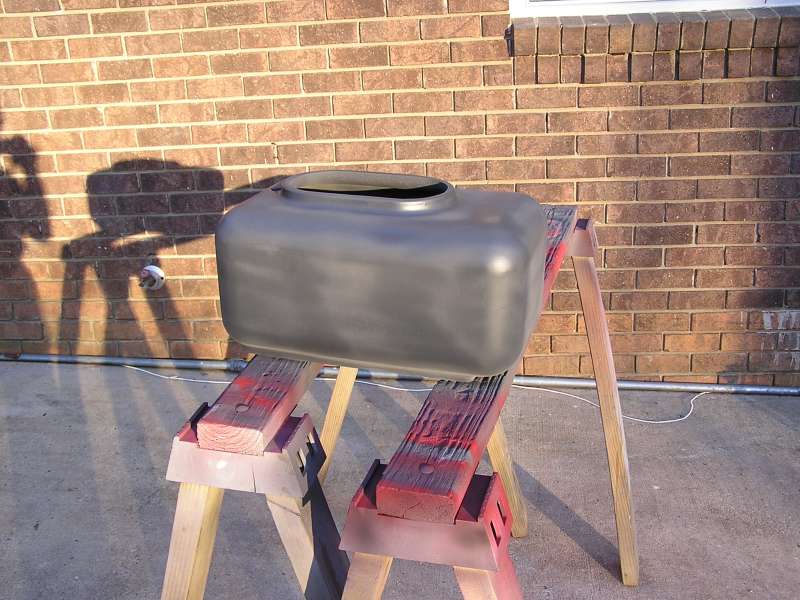 First coat of primer sprayed. Once cured it will be block sanded with 100 grit
paper and then sprayed again. Repeating with finer and finer sandpaper until
ready for paint.
First coat of primer sprayed. Once cured it will be block sanded with 100 grit
paper and then sprayed again. Repeating with finer and finer sandpaper until
ready for paint.
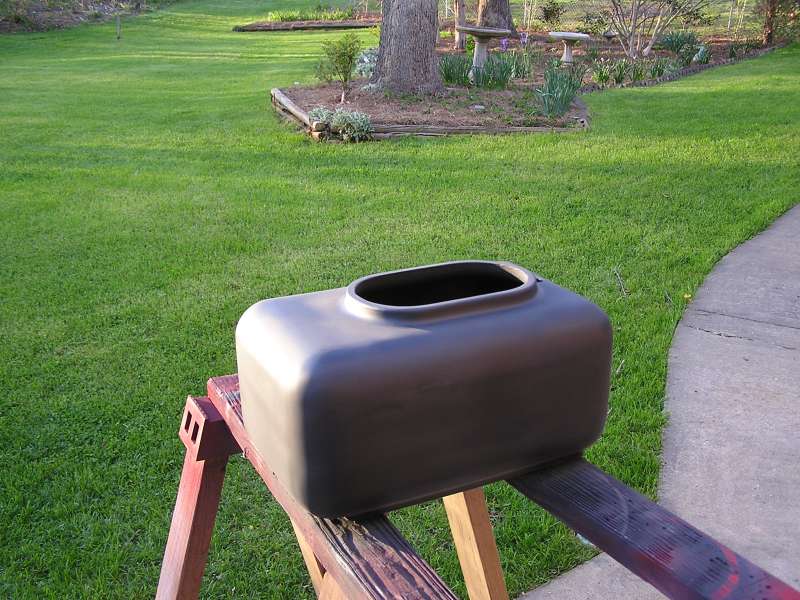 First coat of primer from the other side. The high build capability of this new
2 part urethane primer is far superior to the old lacquer primers. Damn it's
expensive but I like it so far.
First coat of primer from the other side. The high build capability of this new
2 part urethane primer is far superior to the old lacquer primers. Damn it's
expensive but I like it so far.
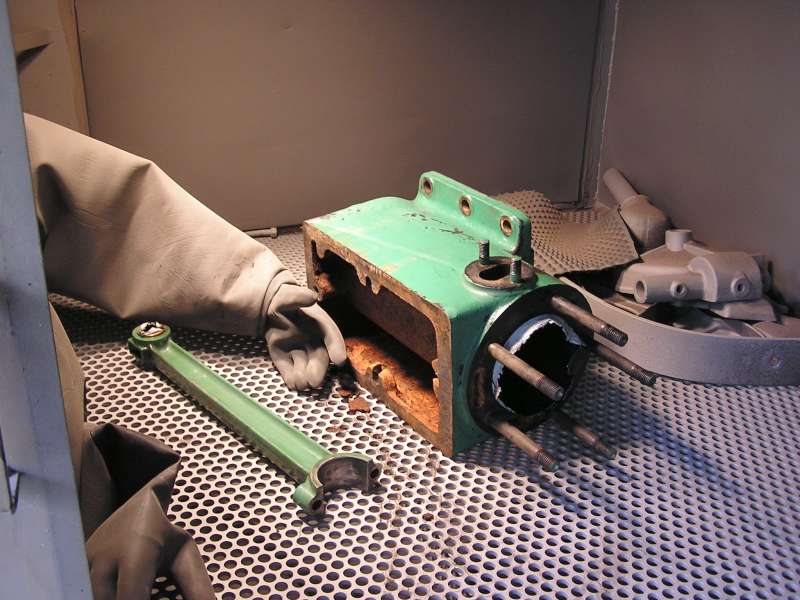 The cylinder has been removed and the bore taped with duct tape to protect it.
Here it and the connecting rod are sitting in the blaster ready for cleaning.
The cylinder has been removed and the bore taped with duct tape to protect it.
Here it and the connecting rod are sitting in the blaster ready for cleaning.
 I had no intentions of slicking the cylinder, but once it was blasted there were
two of those square "thingies" that hold the core in place that were a real
eyesore. So I gave both sides a skim coat of Icing before priming. See the
little space without Icing on it? This is the casting date that apparently was
attached to the pattern with pop rivets each day. I feel it is important to
preserve the casting date information, so that did not get Iced or heavily
primed.
I had no intentions of slicking the cylinder, but once it was blasted there were
two of those square "thingies" that hold the core in place that were a real
eyesore. So I gave both sides a skim coat of Icing before priming. See the
little space without Icing on it? This is the casting date that apparently was
attached to the pattern with pop rivets each day. I feel it is important to
preserve the casting date information, so that did not get Iced or heavily
primed.
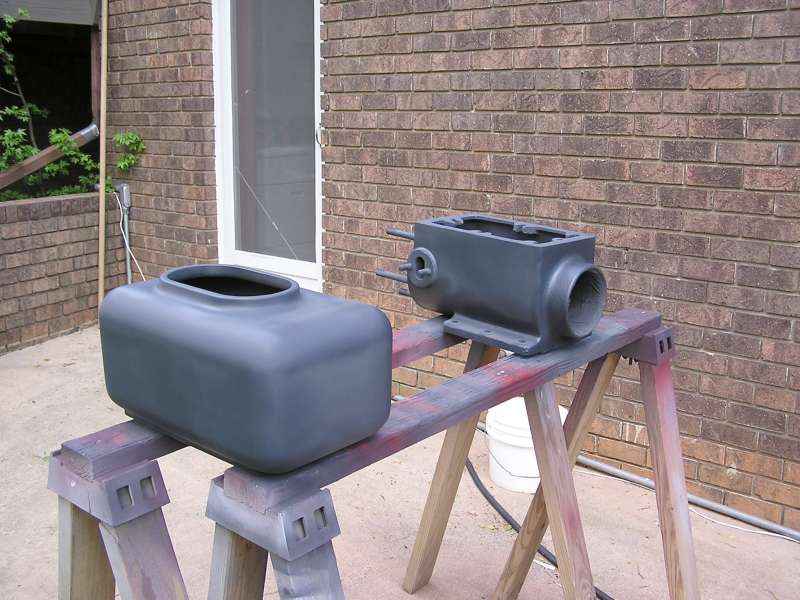 Here the cylinder has gotten its' first coat of primer and the hopper its'
second coat.
Here the cylinder has gotten its' first coat of primer and the hopper its'
second coat.