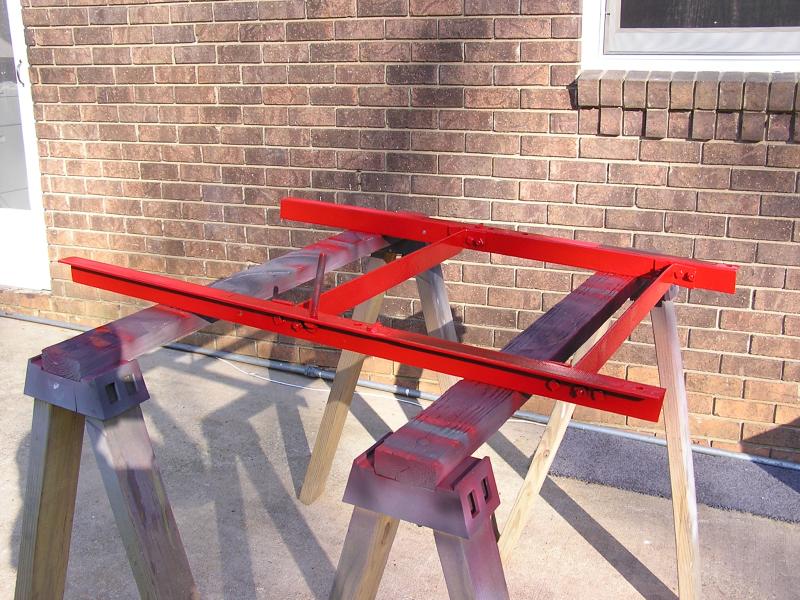
 Table partially assembled. Note catalyzed primer under all screw/bolt heads for
rust protection.
Table partially assembled. Note catalyzed primer under all screw/bolt heads for
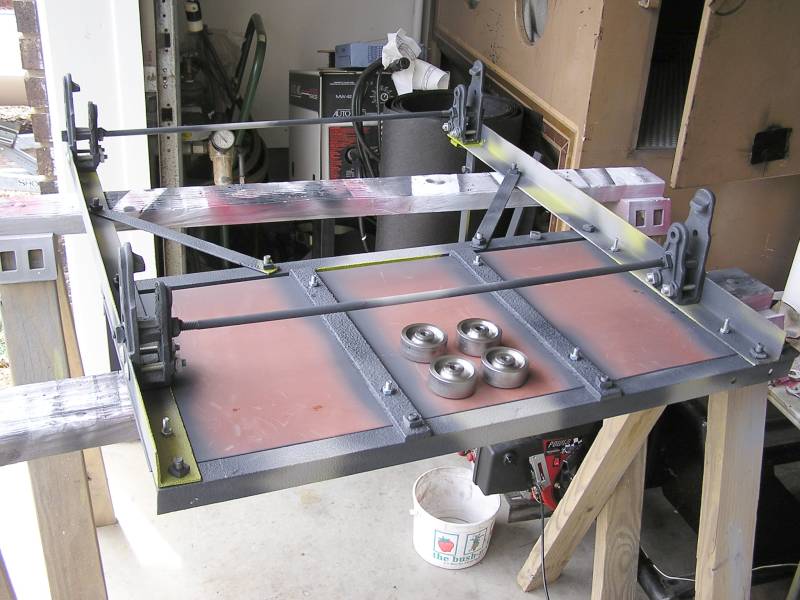
rust protection.These photos show the repair and painting of the sliding saw table. Many new parts were fabricated and redesigned to add to the ease of use of the table.
Items changed from original.
-Thin sheet metal floor that saw wood rests on changed to 10ga.
-Thin back rest sheet metal changed to 10ga.
-Rollers for table made from stainless, replacing worn out cast iron rollers.
-Full threaded carriage bolts (which make lousy axles) replaced with shoulder bolts for the axles in the rollers.
Repairs included:
-Worn arbor shaft replaced with 1144 TG&P.
-Re-babbitted cartridge bearings for arbor shaft. Bored for clearance of .001/.002.
#1 helper, 10 year old Devin, worked all weekend with me. Amazing how quickly he got his weekend homework done so he could work in the shop with dad :-) Click on small thumbnails to see full sized images. Close those windows to return to this page.
Table partially assembled. Note catalyzed primer under all screw/bolt heads for
rust protection.
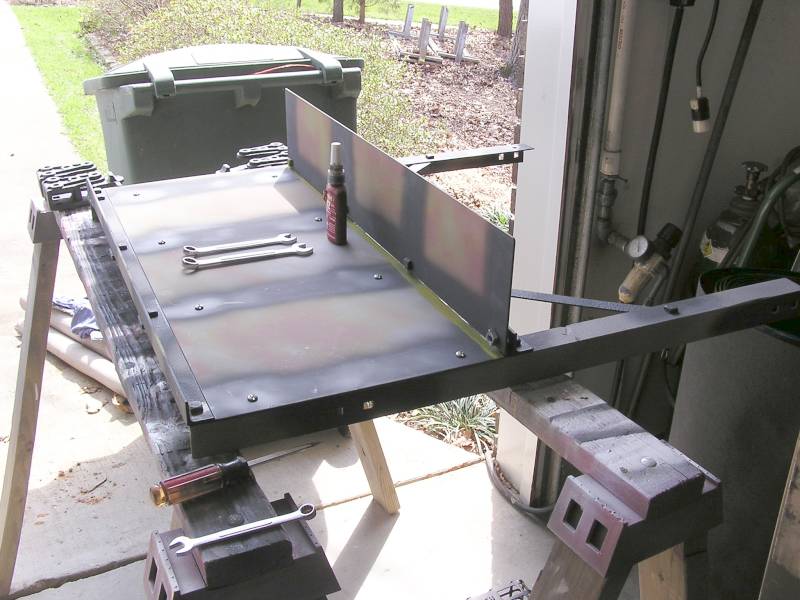 Table from right. All bolts/nuts being assembled with Loctite to prevent shaking
loose. Using the removable 242 just in case...
Table from right. All bolts/nuts being assembled with Loctite to prevent shaking
loose. Using the removable 242 just in case...
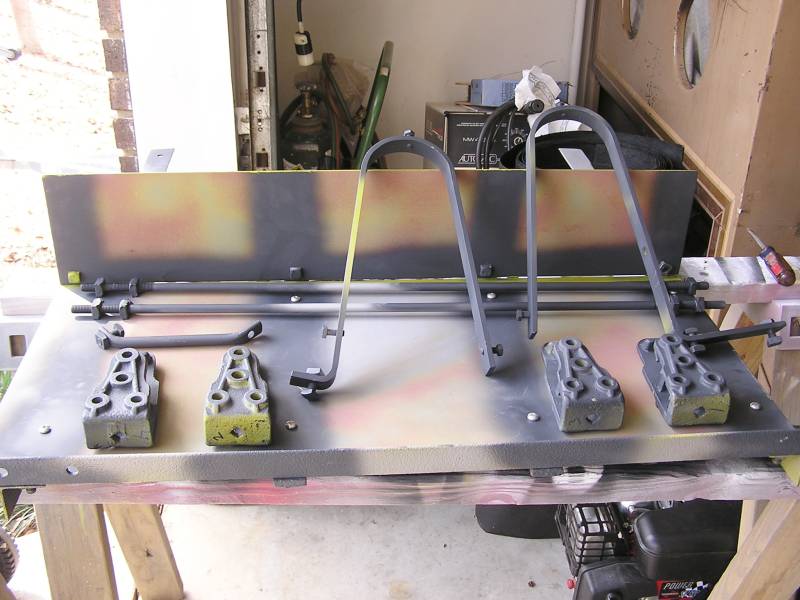 These are the roller castings and the blade guard brackets. Keith Kinney provided
a template/ sketch of the brackets. Mine were missing. The castings were welded
where they were almost worn thru. Hercules did good with these parts. They made
them of cast steel, so they were a breeze to weld.
These are the roller castings and the blade guard brackets. Keith Kinney provided
a template/ sketch of the brackets. Mine were missing. The castings were welded
where they were almost worn thru. Hercules did good with these parts. They made
them of cast steel, so they were a breeze to weld.
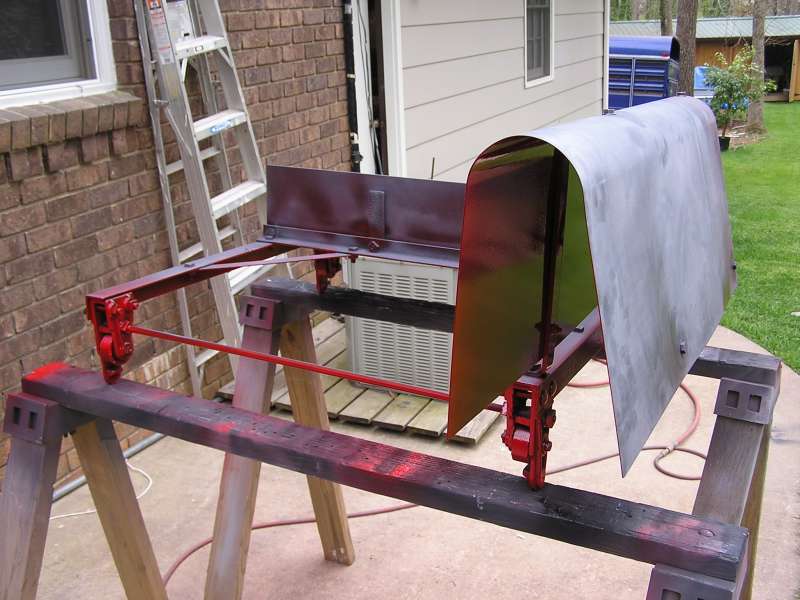
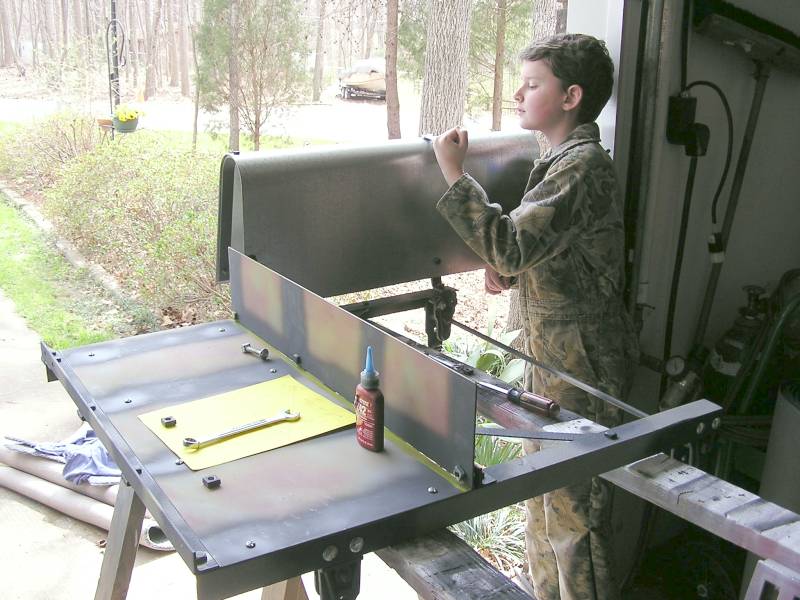 Guard brackets have been installed and Devin is tightening the bolts securing
the sheet metal guard. Then the bracket bolts and nuts will be Loctited in
place.
Guard brackets have been installed and Devin is tightening the bolts securing
the sheet metal guard. Then the bracket bolts and nuts will be Loctited in
place.
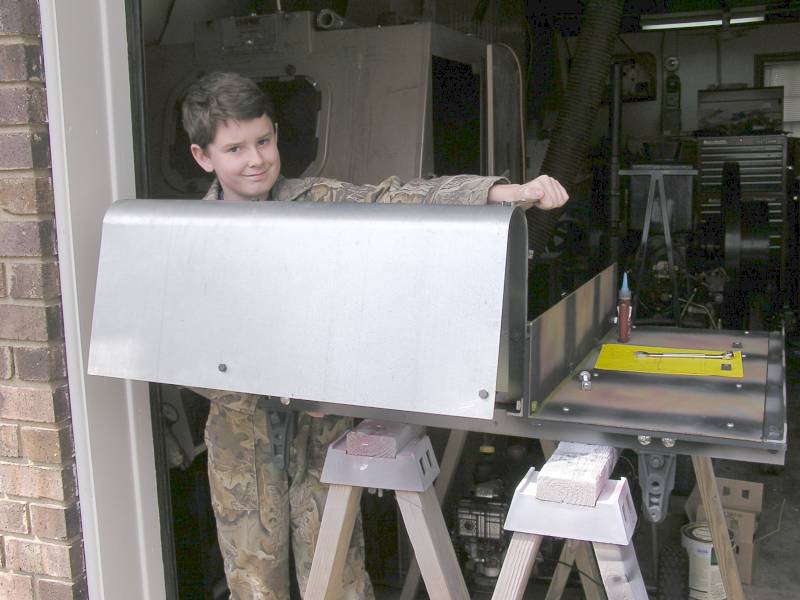 More of Devin hard at work.
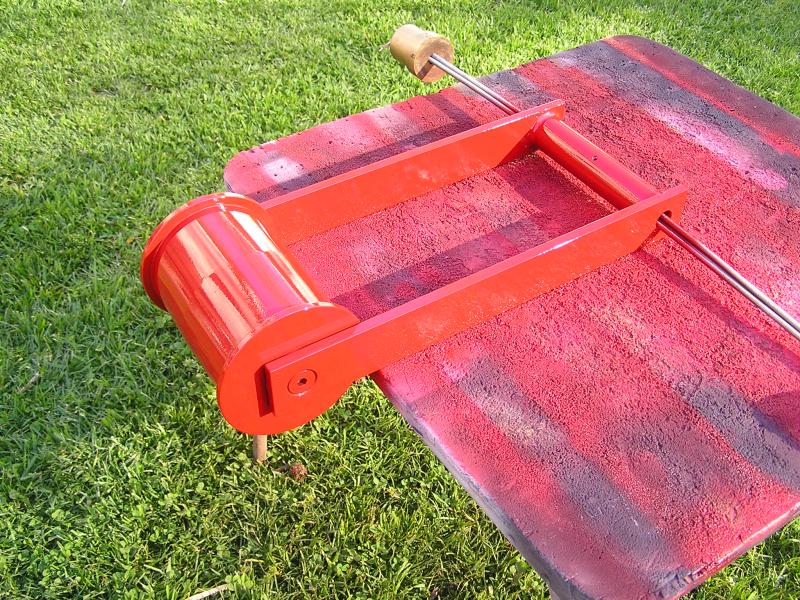
 The table is upside down now and you can see the new stainless rollers. They
will be taped off prior to being installed and will remain unpainted.
The table is upside down now and you can see the new stainless rollers. They
will be taped off prior to being installed and will remain unpainted.
One more test fit to make sure everything fits right and then final primer will be sprayed, making everything a uniform color. IHC tractor red will be the final color. More pictures soon.....
Update: Saw table is primed and painted in IHC tractor red. Table was painted upside down, then flipped over and painted on the top.
 The bottom side has been painted and the table flipped over.
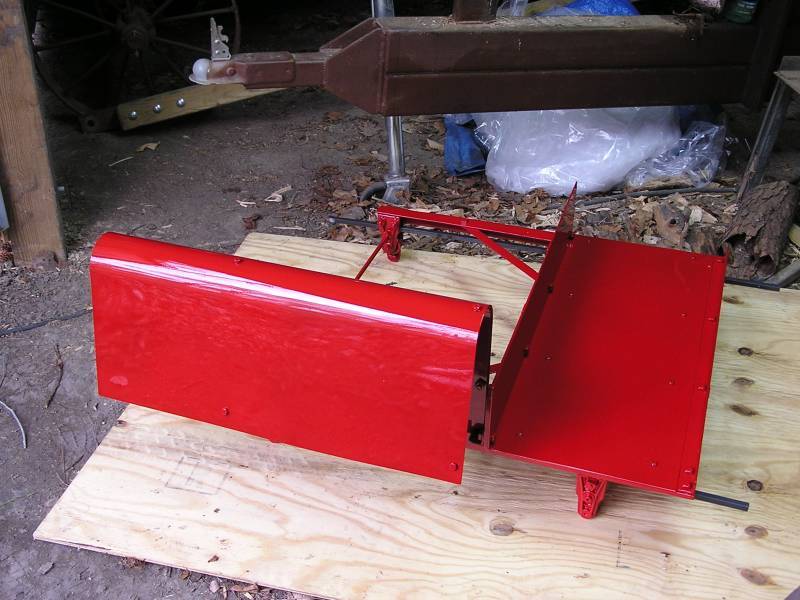 Final paint.
 Here is the arbor shaft. Sorry the picture is a little out of focus.
 Here is the sub frame that the sliding table rolls on.
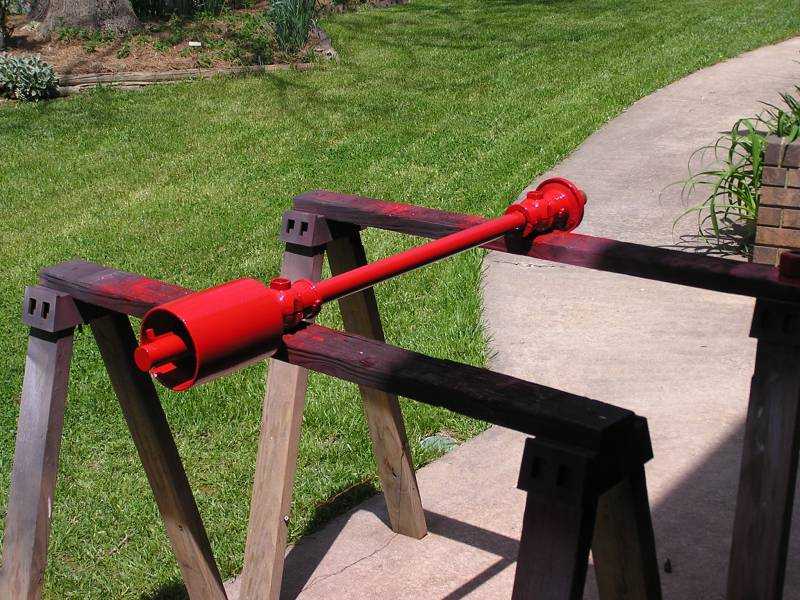
 And the idler for the belt that drives the saw arbor. This part was made from
scratch because the original was missing. It has sealed ball bearings inside for
smooth trouble free operation.
And the idler for the belt that drives the saw arbor. This part was made from
scratch because the original was missing. It has sealed ball bearings inside for
smooth trouble free operation.