Making a pattern and core box for a new piston for a 3HP
Hercules/Jaeger/Economy engine.
Click on the thumbnails for a full sized image. Close that
image to return to this page.
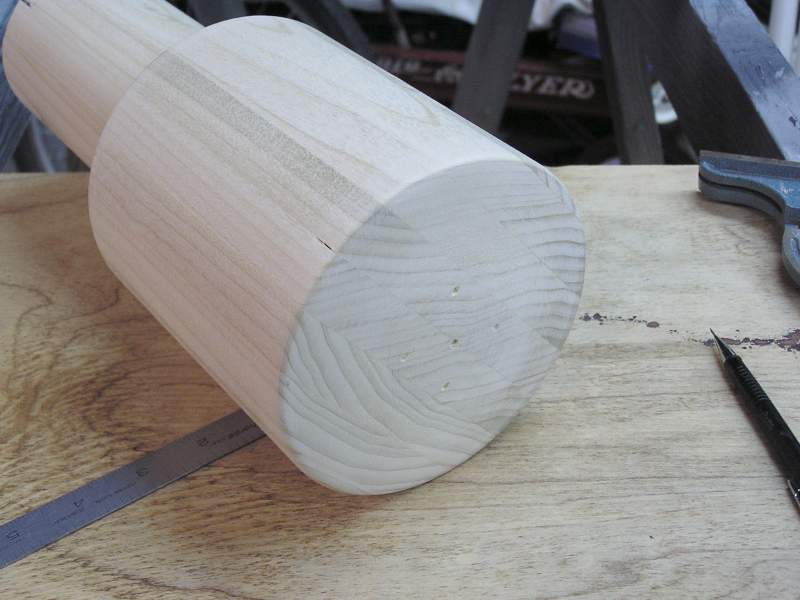
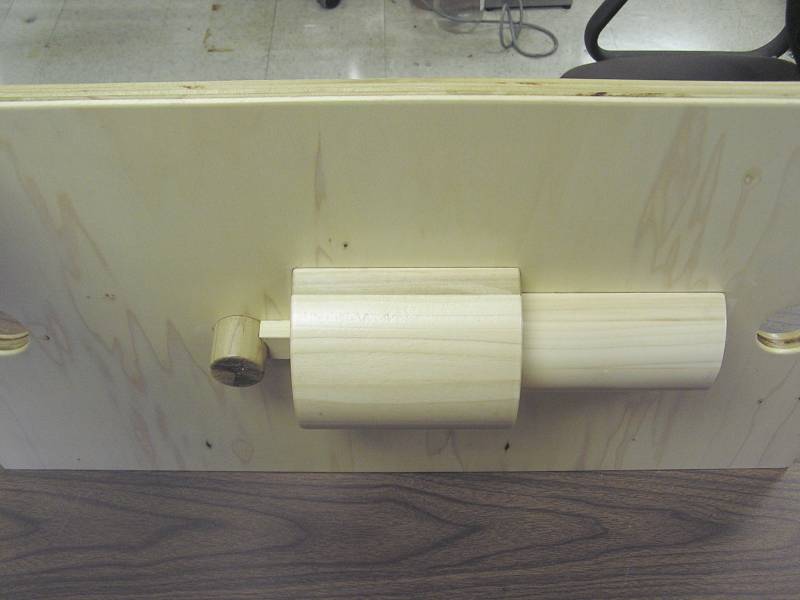
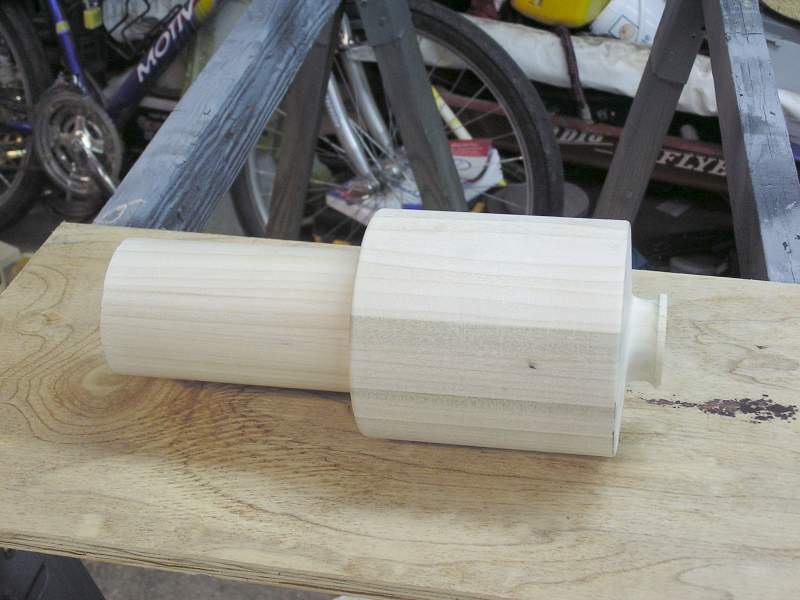
 Two half blocks of wood were glued and then the half blocks were spot glued to each other to form a 6
x 6 x 12 block. This was turned in a metal lathe. The projection on the right is
where the block was mounted on the chuck side. A tool was made that would allow
the block of wood to be held right on the split line and allow a standard 3 jaw
chuck to be used. The 2" hub is as far in as the tool could be driven.
Two half blocks of wood were glued and then the half blocks were spot glued to each other to form a 6
x 6 x 12 block. This was turned in a metal lathe. The projection on the right is
where the block was mounted on the chuck side. A tool was made that would allow
the block of wood to be held right on the split line and allow a standard 3 jaw
chuck to be used. The 2" hub is as far in as the tool could be driven.
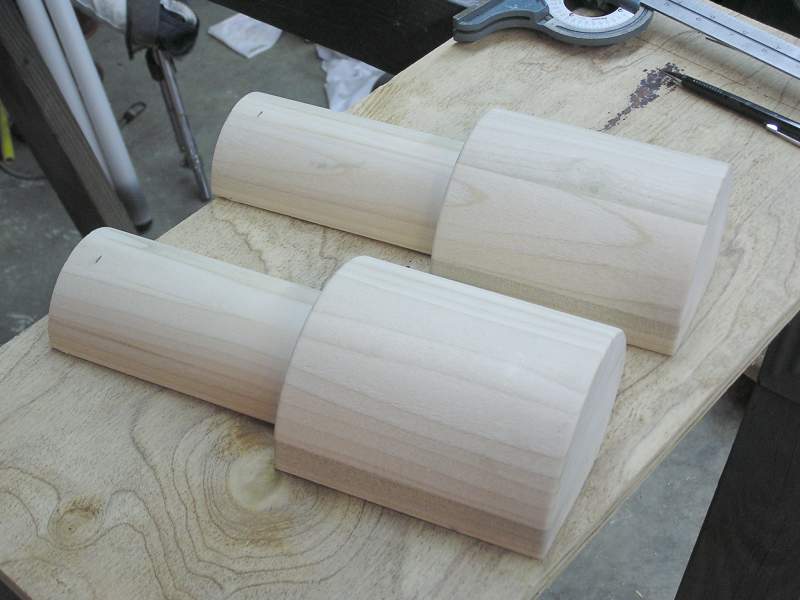
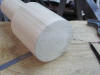 Here the hub has been cut off and sanded smooth matching the draft of the rest
of the end.
Here the hub has been cut off and sanded smooth matching the draft of the rest
of the end.
 A correctly placed chisel and you instantly have 2 matching halves if you are
lucky.
A correctly placed chisel and you instantly have 2 matching halves if you are
lucky.
 The same on the backside. You can see the remnants of the glue spots that held
the halves together.
The same on the backside. You can see the remnants of the glue spots that held
the halves together.
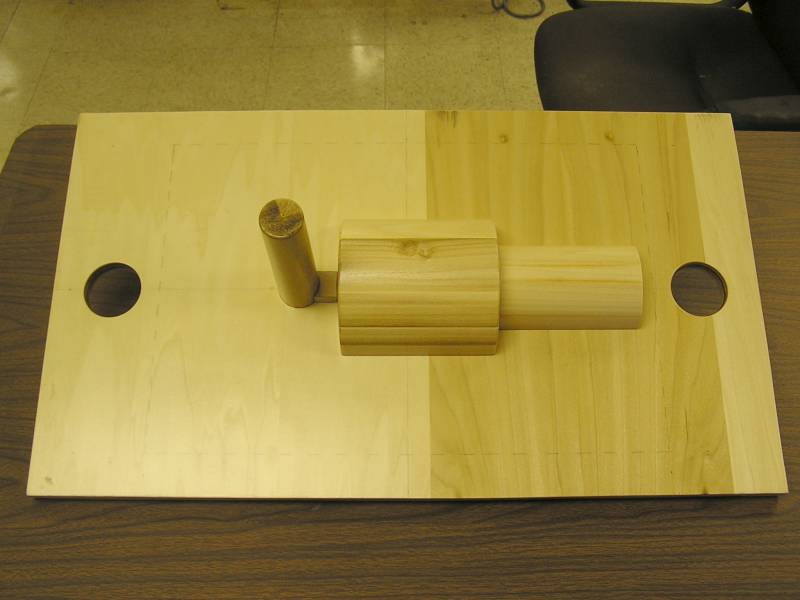
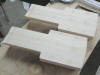
 Here 1/2 of the pattern has been put on the correct size board to work with the
foundry flasks. The gate and riser are glued in place and several coats of
polyurethane applied. This is the cope side.
Here 1/2 of the pattern has been put on the correct size board to work with the
foundry flasks. The gate and riser are glued in place and several coats of
polyurethane applied. This is the cope side.
 And this is the underside or the drag side. The lower part of the riser and gate
can be seen on the left.
And this is the underside or the drag side. The lower part of the riser and gate
can be seen on the left.
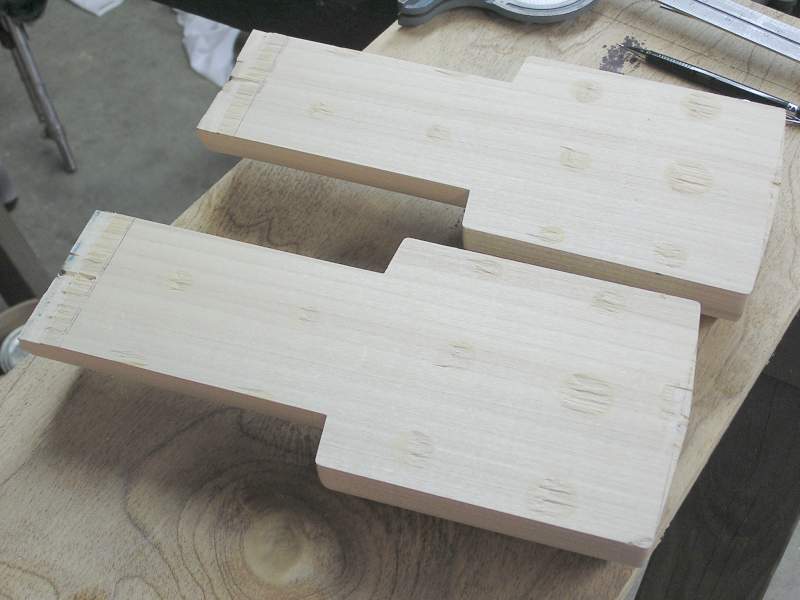
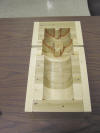
 Once the drawings are done the piston core box is split into sections, usually
split at the changes in diameter along the interior of the piston. The section
blocks are glued up from 3/4" boards in either 3 or 4 groups of these boards.
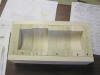
Here basic core box has been glued together. The left portion being the inside of
the piston and the right portion the core print.
Once the drawings are done the piston core box is split into sections, usually
split at the changes in diameter along the interior of the piston. The section
blocks are glued up from 3/4" boards in either 3 or 4 groups of these boards.
Here basic core box has been glued together. The left portion being the inside of
the piston and the right portion the core print.
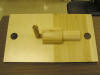
 The leather fillets have been added and four coats of polyurethane have been
applied to make everything smooth. Usually I spray use lacquer primer surfacer,
but with the cold winter weather it was much better to stay in the warm shop and
use a paint brush! Note the slots on either side of the wrist pin boss. This is
to accommodate the rib that runs along the top of a 3HP Jaeger piston. The rib
holds the 1/4" copper tube that lubricates the wrist pin.
The leather fillets have been added and four coats of polyurethane have been
applied to make everything smooth. Usually I spray use lacquer primer surfacer,
but with the cold winter weather it was much better to stay in the warm shop and
use a paint brush! Note the slots on either side of the wrist pin boss. This is
to accommodate the rib that runs along the top of a 3HP Jaeger piston. The rib
holds the 1/4" copper tube that lubricates the wrist pin.
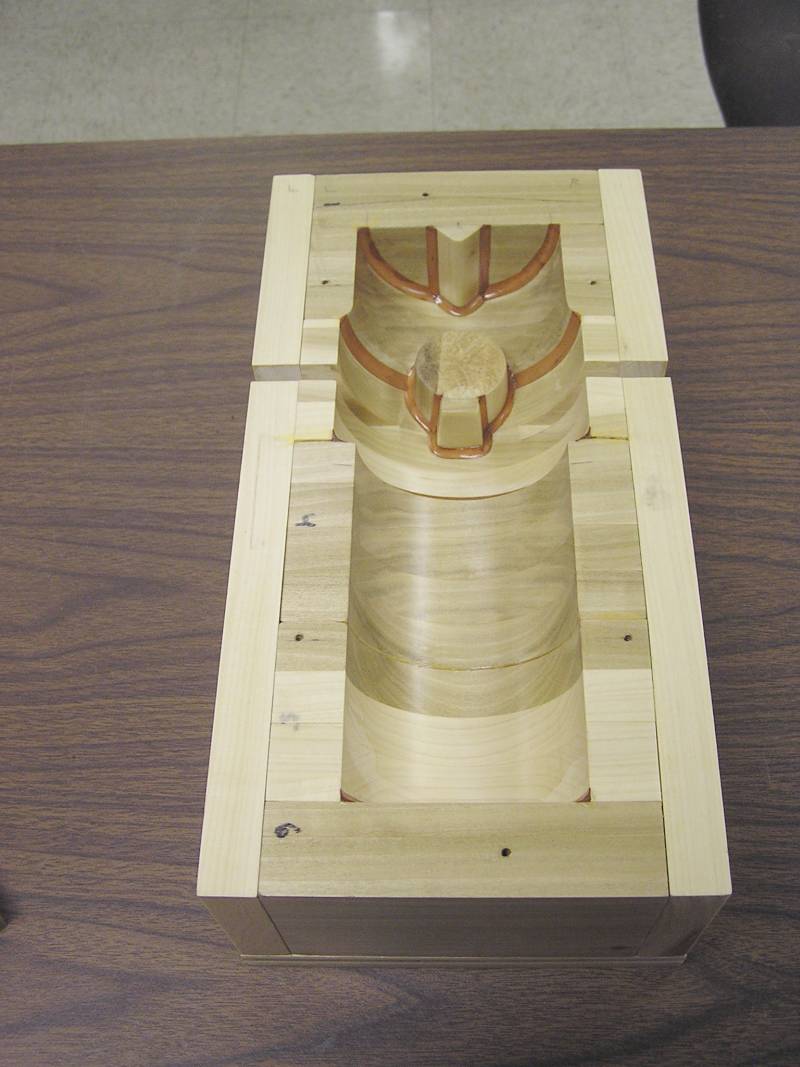
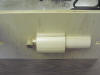
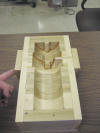 Here the removable pieces are being held in place by hand. The blank is on the
left and the one that creates the rib across the top is on the right. A core
half would be rammed and rapped out of the corebox.
Here the removable pieces are being held in place by hand. The blank is on the
left and the one that creates the rib across the top is on the right. A core
half would be rammed and rapped out of the corebox.
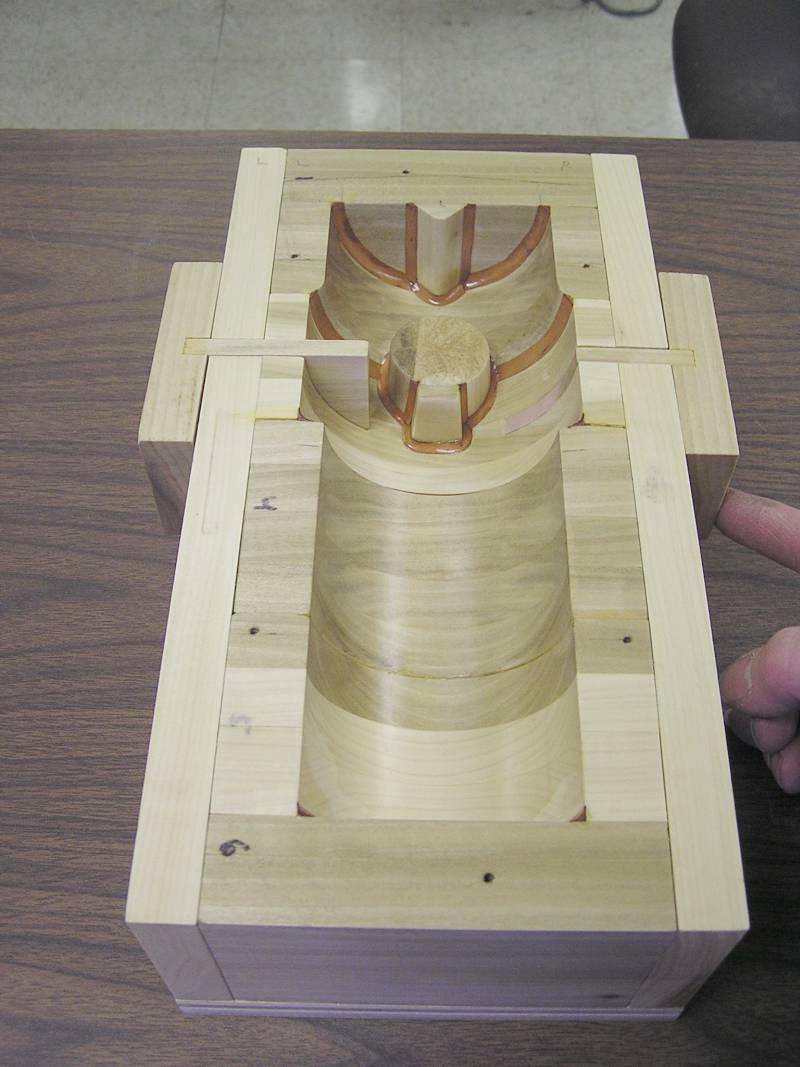
 Here the removable pieces have been swapped and the other core half would be
rammed. This would create the rib for the other half. Once the two halves are
glued together there will be a slot (rib) all the way across the top of the
core.
Here the removable pieces have been swapped and the other core half would be
rammed. This would create the rib for the other half. Once the two halves are
glued together there will be a slot (rib) all the way across the top of the
core.
That's it. This is ready for the foundry.
 Two half blocks of wood were glued and then the half blocks were spot glued to each other to form a 6
x 6 x 12 block. This was turned in a metal lathe. The projection on the right is
where the block was mounted on the chuck side. A tool was made that would allow
the block of wood to be held right on the split line and allow a standard 3 jaw
chuck to be used. The 2" hub is as far in as the tool could be driven.
Two half blocks of wood were glued and then the half blocks were spot glued to each other to form a 6
x 6 x 12 block. This was turned in a metal lathe. The projection on the right is
where the block was mounted on the chuck side. A tool was made that would allow
the block of wood to be held right on the split line and allow a standard 3 jaw
chuck to be used. The 2" hub is as far in as the tool could be driven.